Server Sent Events (SSE) is a technology that enables a client to receive automatic updates from a server via HTTP connection. The server can push data to the client whenever it wants, without the client having to make any additional requests. This is one of the most interesting features of the HTTP protocol, and it enables real-time applications, Server Sent Events are a great alternative to WebSockets in many cases, and they are easier to implement and use.
In this article, we will learn how to use SSE in Flutter apps. We will also learn how to use and manipulate the streamed responses to a Stream interface in Flutter to handle it in a more convenient and clear way.
Setting up a demo mock SSE API
Following with this article, in order to showcase and explain how to use the SSE with a Dart/Flutter app, we will need first an API that implements the SSE functionality so we can work with it, right? We will create a simple one that will send a counting number every 500 milliseconds to the client just as an example, but in your real-world projects, it could be an API that pushes some chunks of data as soon as it is ready (like ChatGPT messages streaming..).. Our API will be written in Node.js & Express, if you’re not familiar with it, you can simply skip to the real Flutter/Dart use of it..
Creating the API project
- Create a new folder named
sse-demo, open it with your Preferred IDE:
- Open your terminal and run the following command to create a new
Node.jsproject:
npm init -y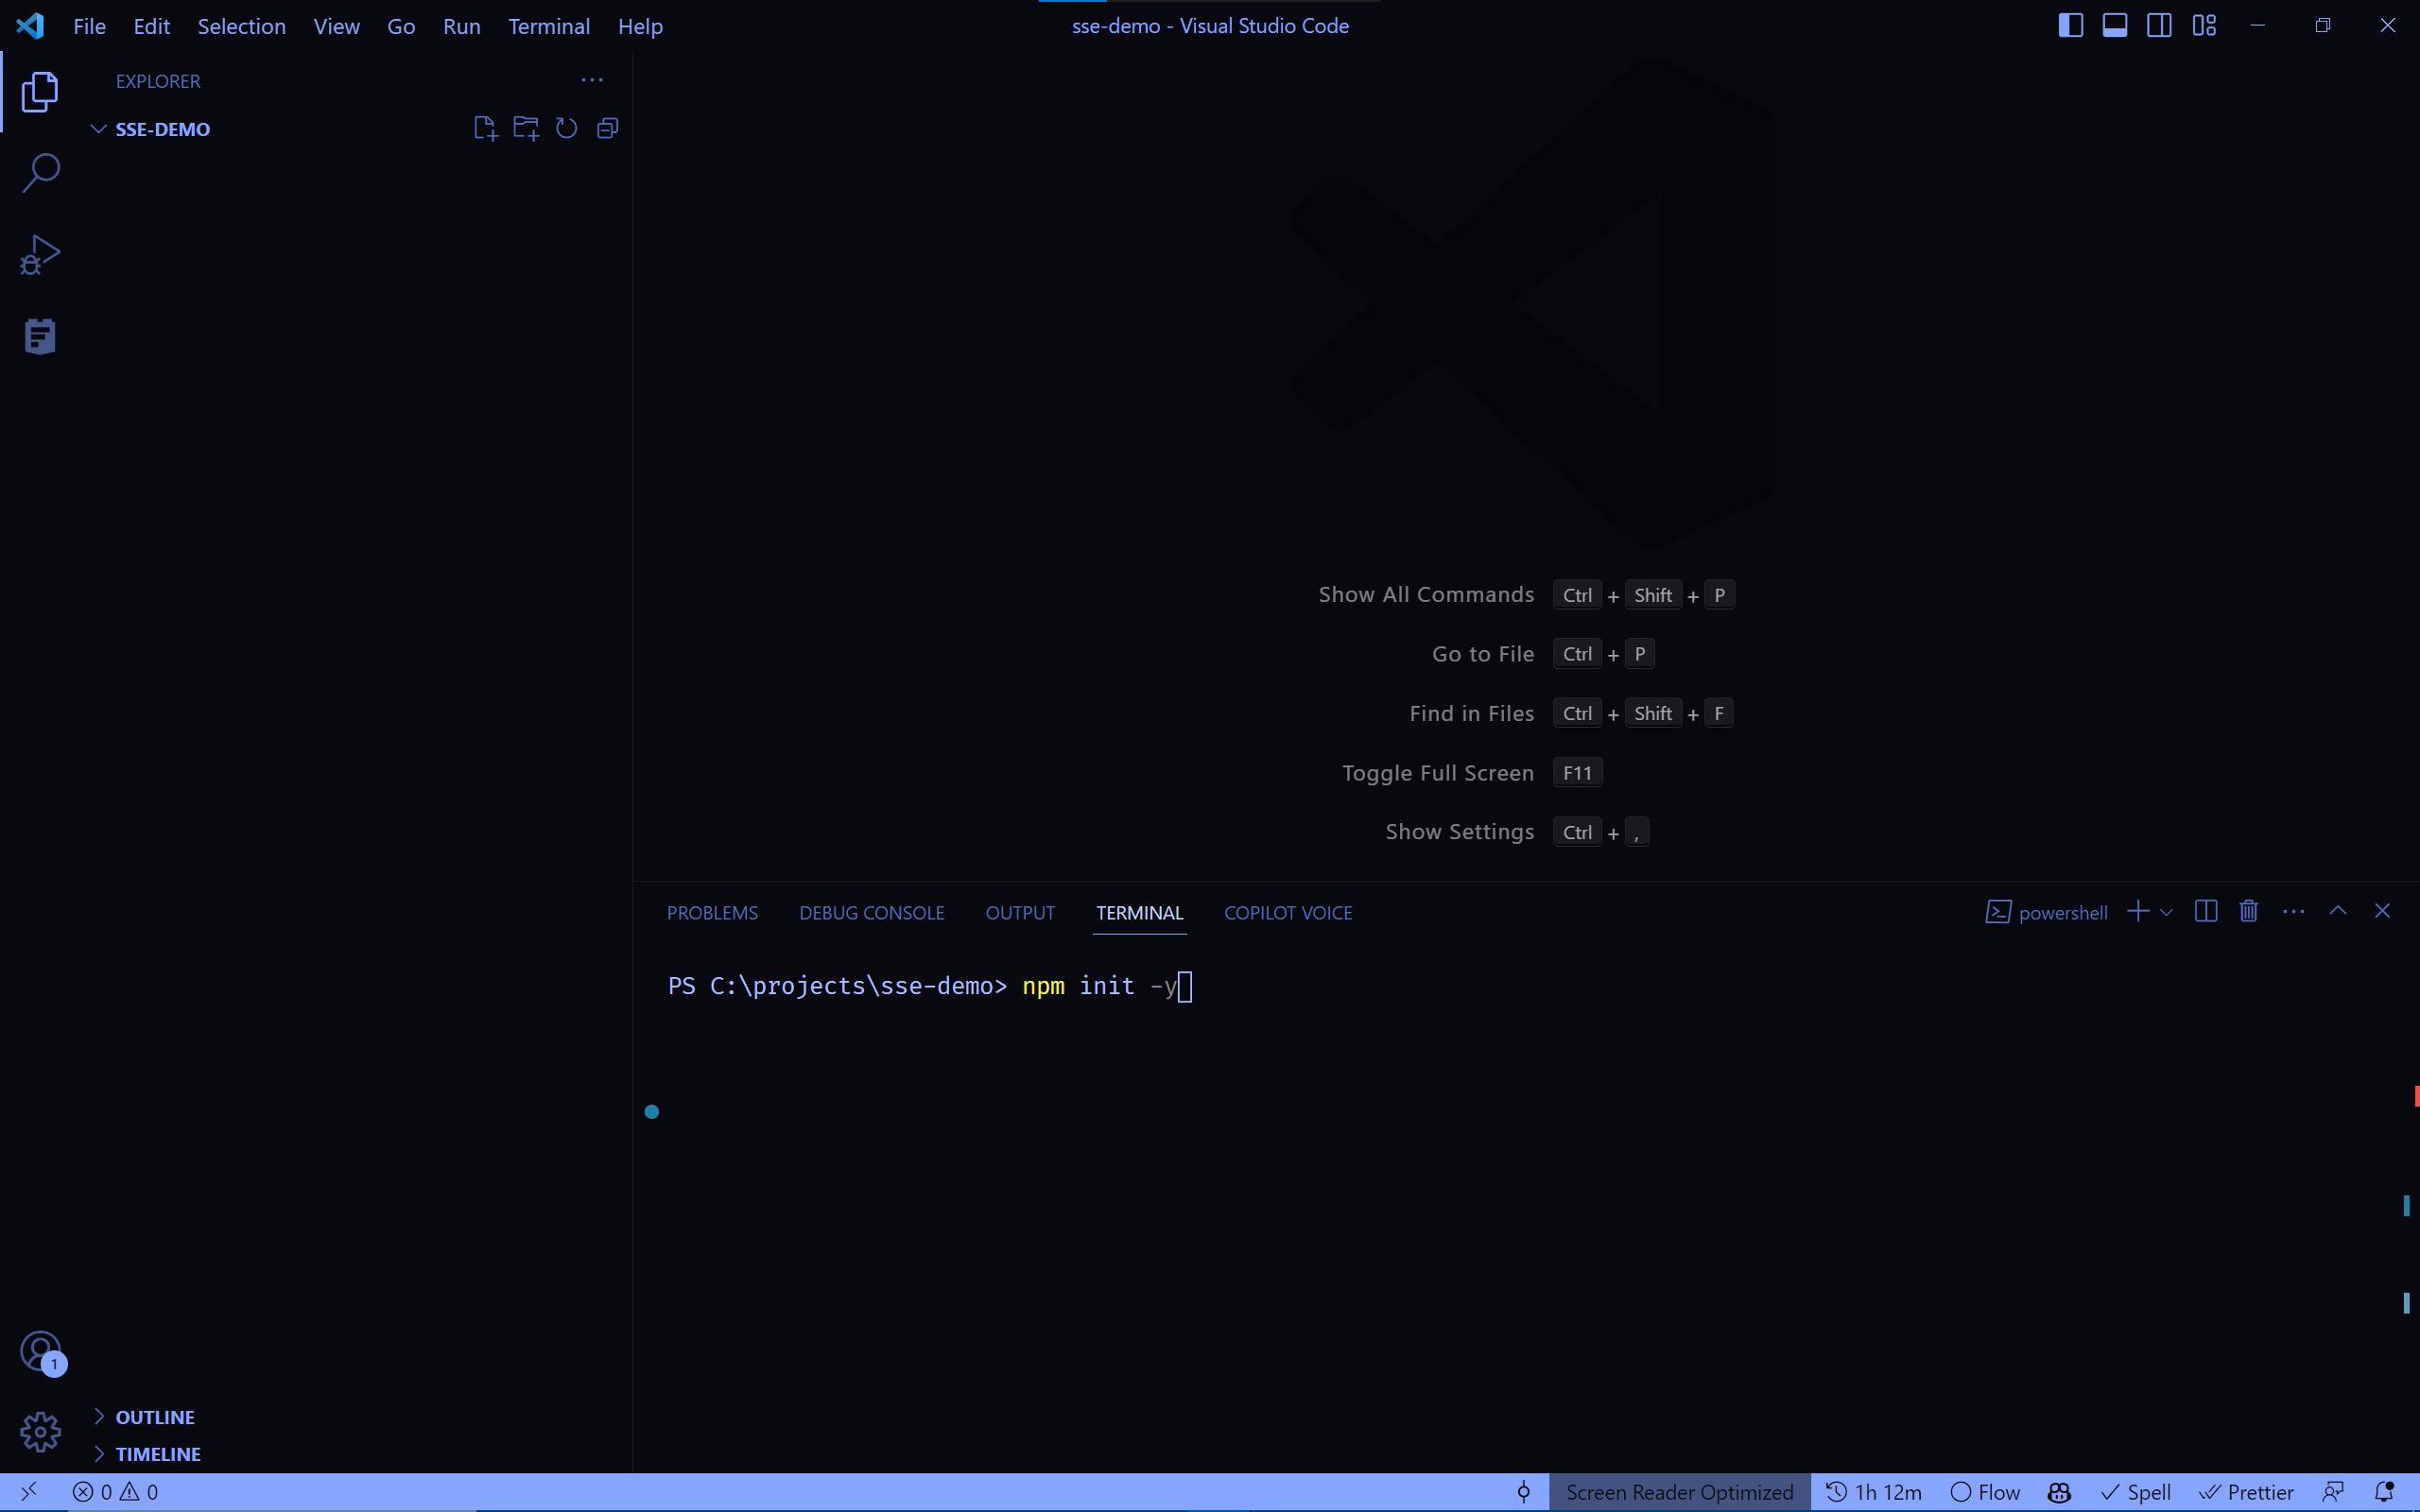
You should see a new file named package.json created in your project folder, then you’re good to continue.
- Install
Express.jslibrary by running the following command:
npm install express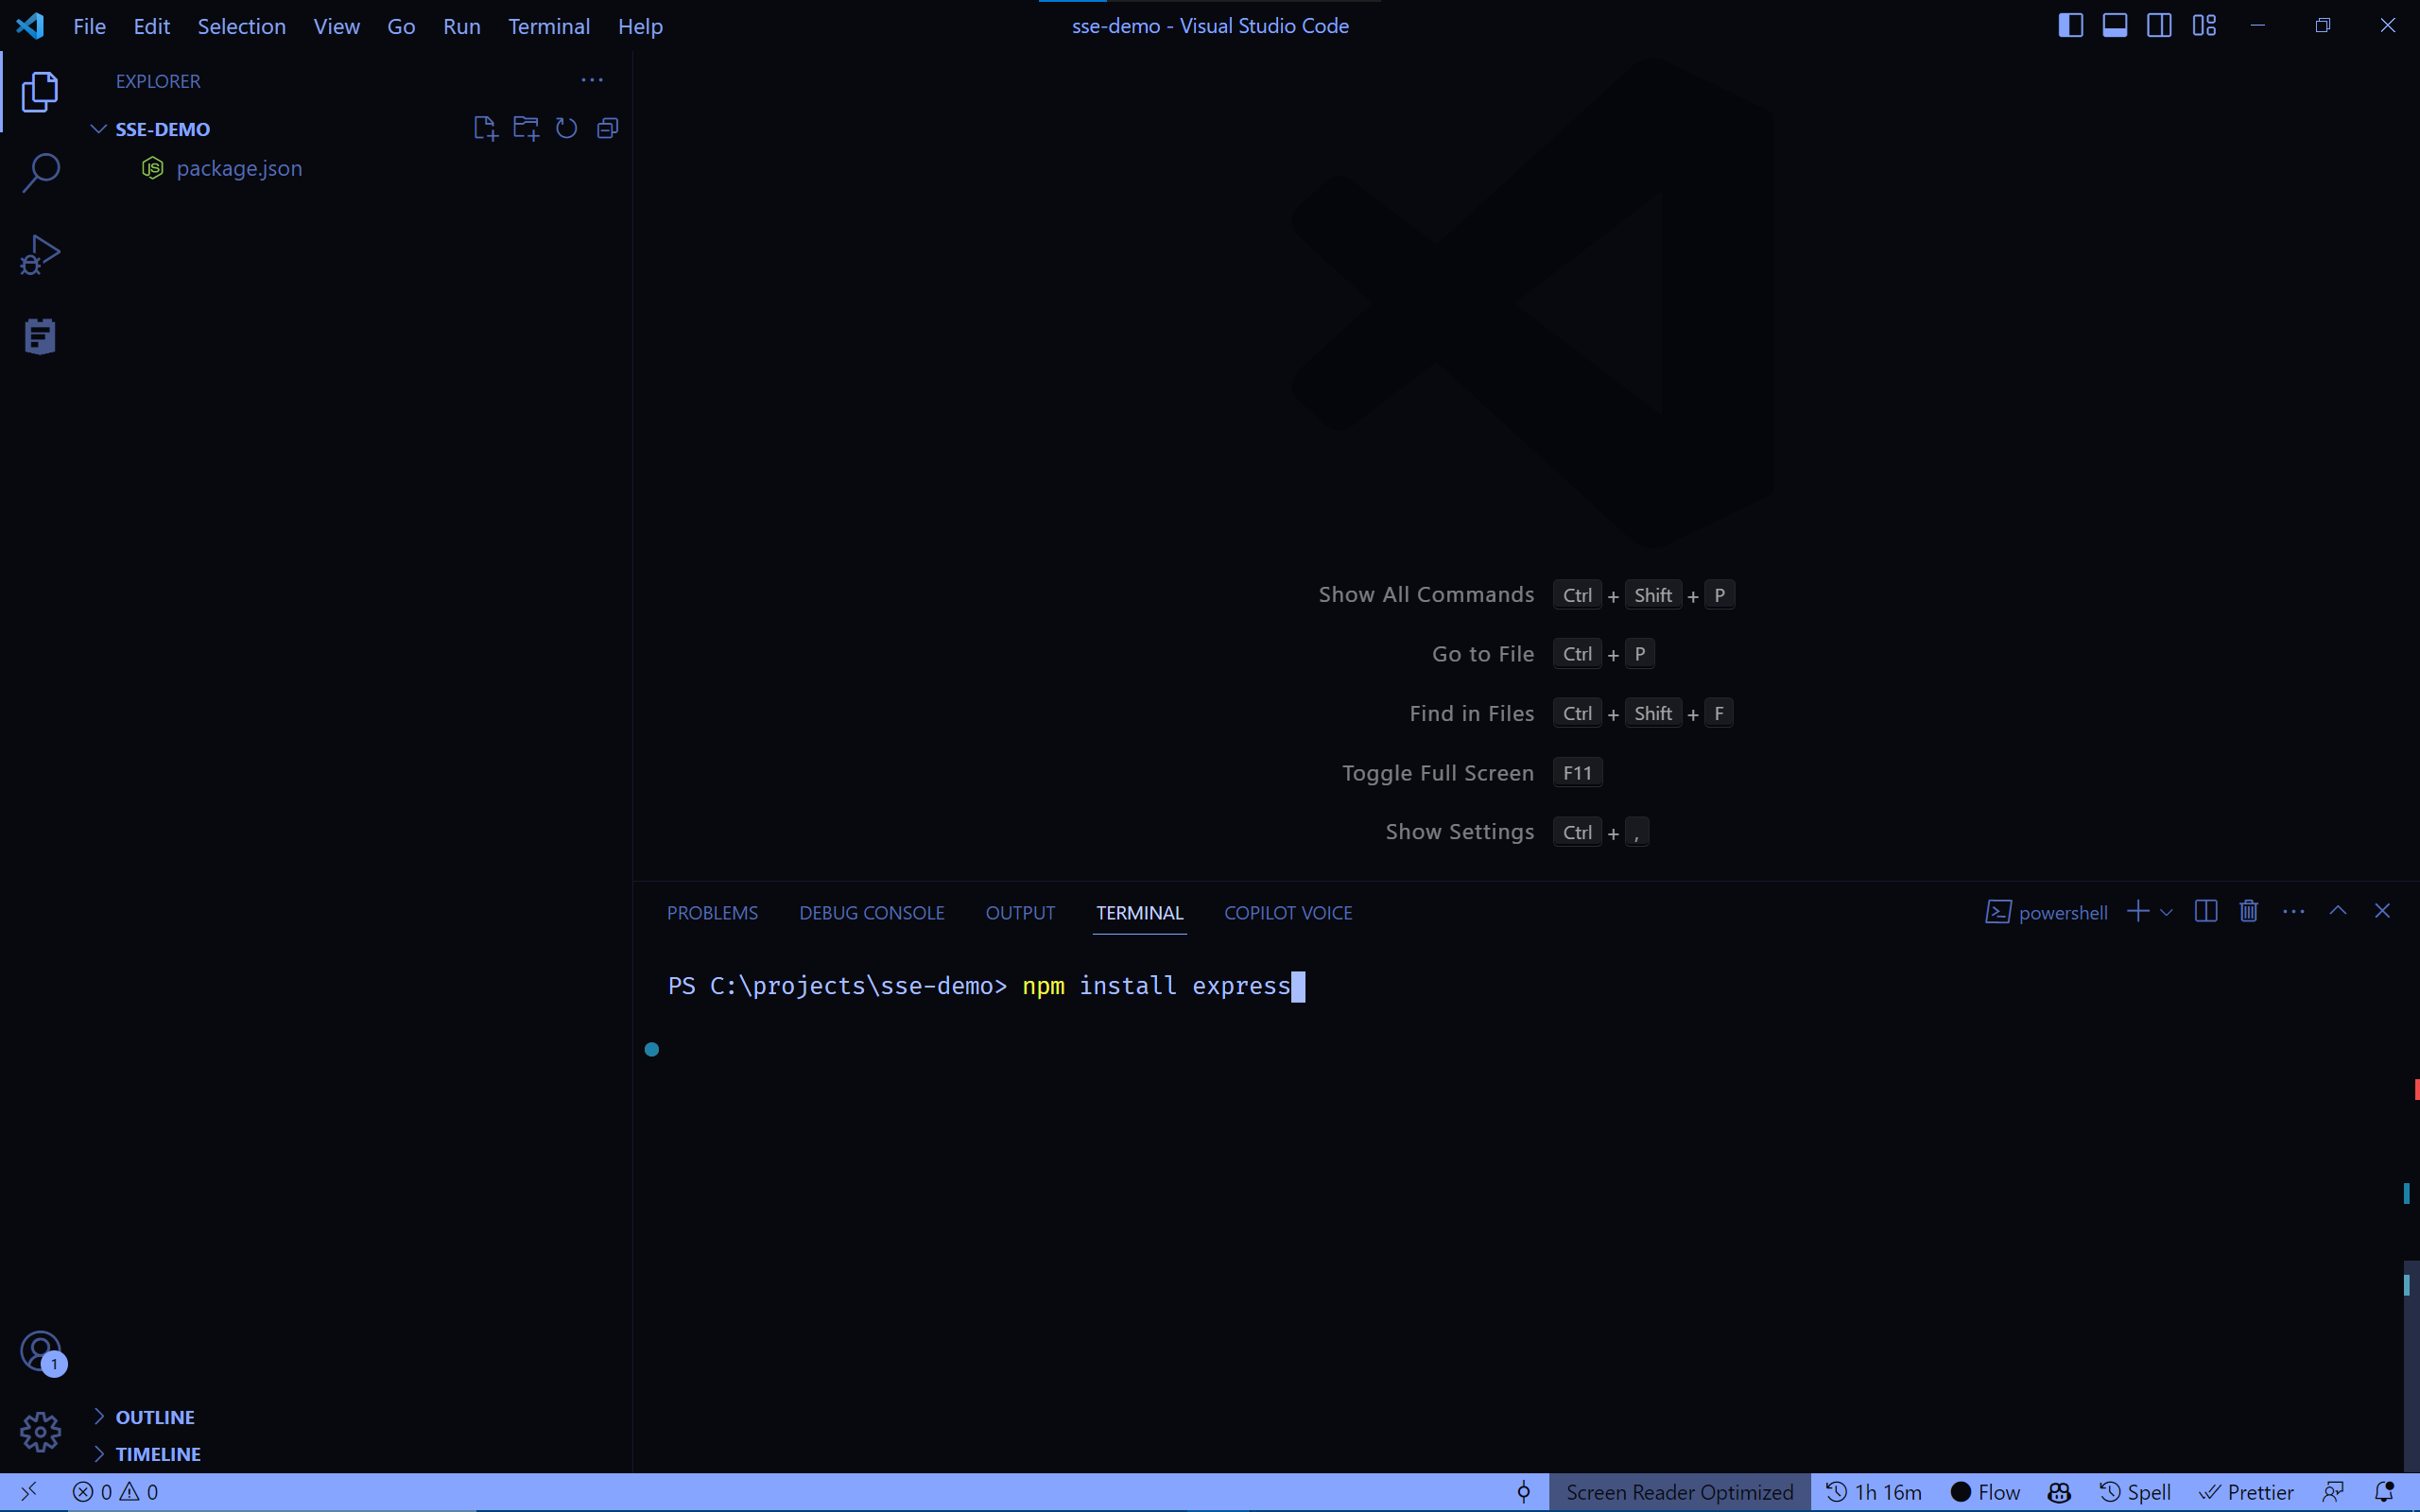
You should see a new folder named node_modules created in your project folder, then you’re good to continue.
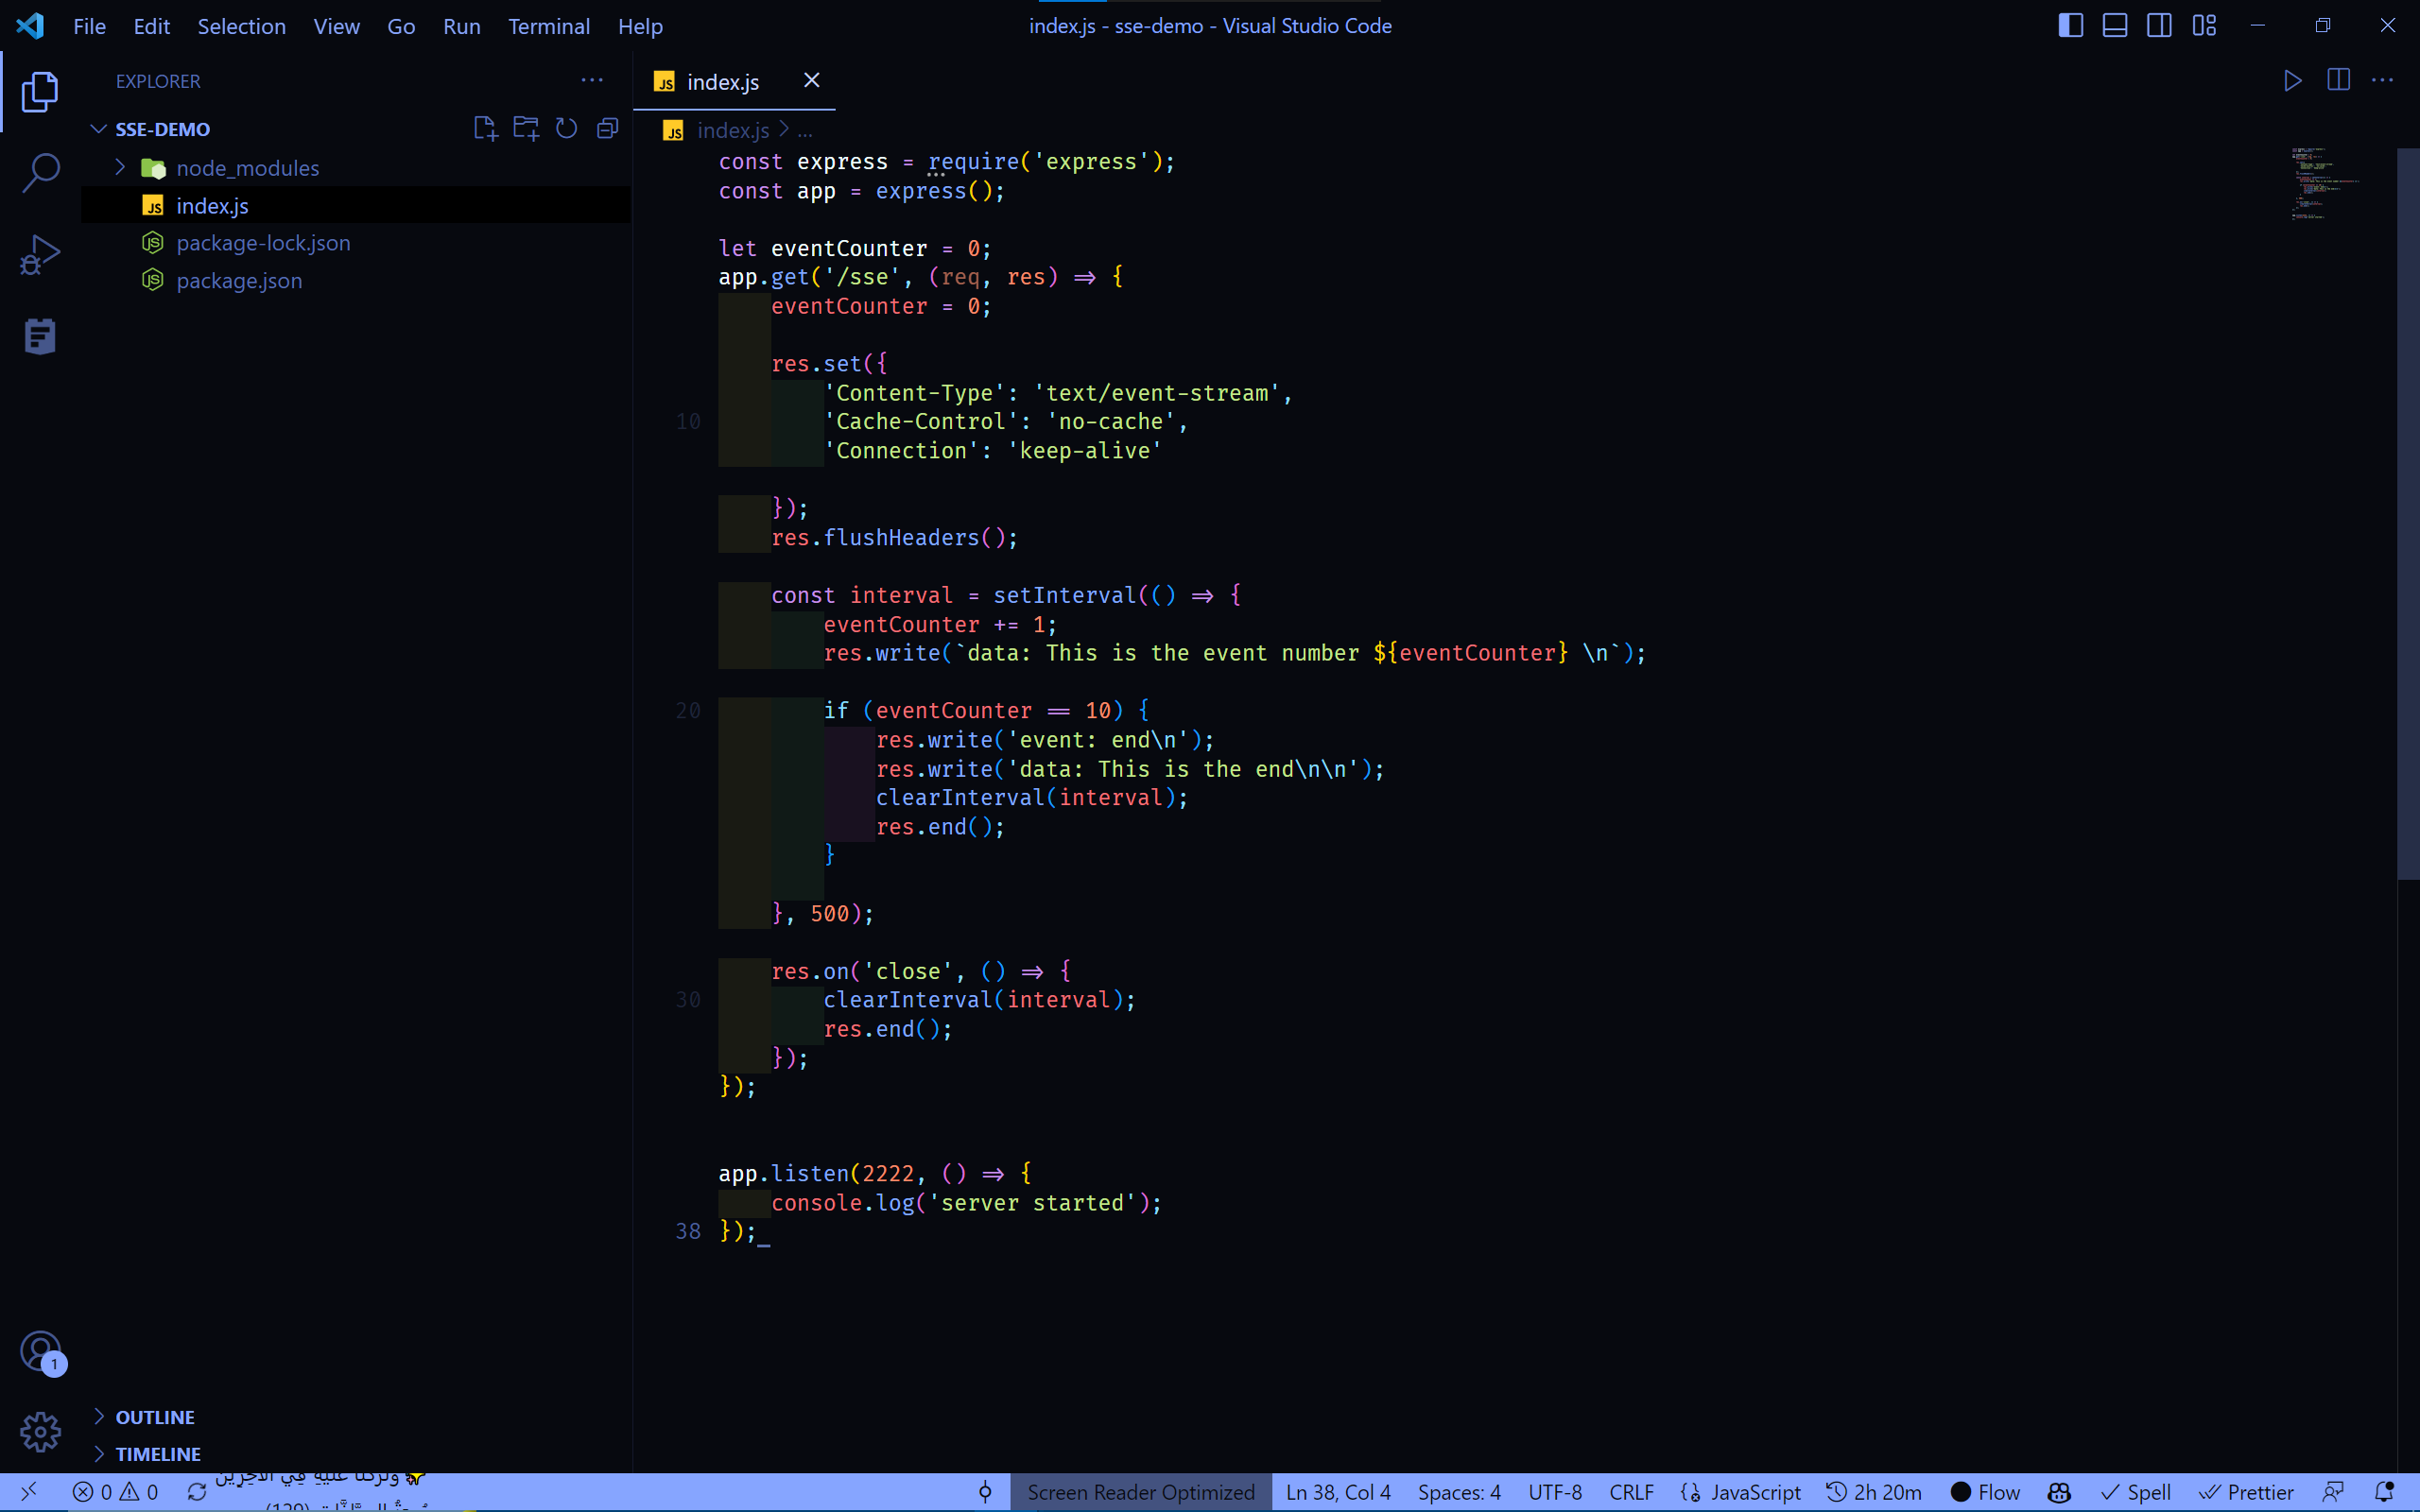
- Now, create a new file named
index.jsand add the following code:
const express = require("express");
const app = express();

let eventCounter = 0;
app.get("/sse", (req, res) => {
  eventCounter = 0;

  res.set({
    "Content-Type": "text/event-stream",
    "Cache-Control": "no-cache",
    Connection: "keep-alive",
  });
  res.flushHeaders();

  const interval = setInterval(() => {
    eventCounter += 1;
    res.write(`data: This is the event number ${eventCounter} \n`);

    if (eventCounter == 10) {
      res.write("event: end\n");
      res.write("data: This is the end\n\n");
      clearInterval(interval);
      res.end();
    }
  }, 500);

  res.on("close", () => {
    clearInterval(interval);
    res.end();
  });
});

app.listen(3000, () => {
  console.log("server started");
});
This is our server code, we have here a simple GET HTTP endpoint at /sse that will send a counting number every 500 milliseconds to the client, and will close the HTTP connection after 10 events are sent, so we don’t have an infinite connection that will never be closed.
At this point, you should have the index.js file looking like the following:
- Run the following command to start the server and make it listen to the port
3000:
node index- Now, open your browser and navigate to http://localhost:3000/sse, you should chunks of data being sent to the client (in this case it is the browser) every
500 millisecondsuntil the10thevent is sent, then the connection will be closed:
Congratulations, you just created a simple SSE API, you can now move to the next section to learn how to use it in a Flutter app.
Using an SSE API in Flutter/Dart apps
In this section, we will use the SSE API that we created in the previous section in a Dart/Flutter environment, providing a Stream interface for the data received from the server, to allow for a more convenient way to handle the data.
Creating the project
- Navigate to the folder location where you want to create your project, you can move to your target directory by opening your terminal and running:
cd path/to/your/target/directory- Under that directory, create a new Flutter project named
sse_demo_appby running the following command in your terminal:
flutter create sse_demo_app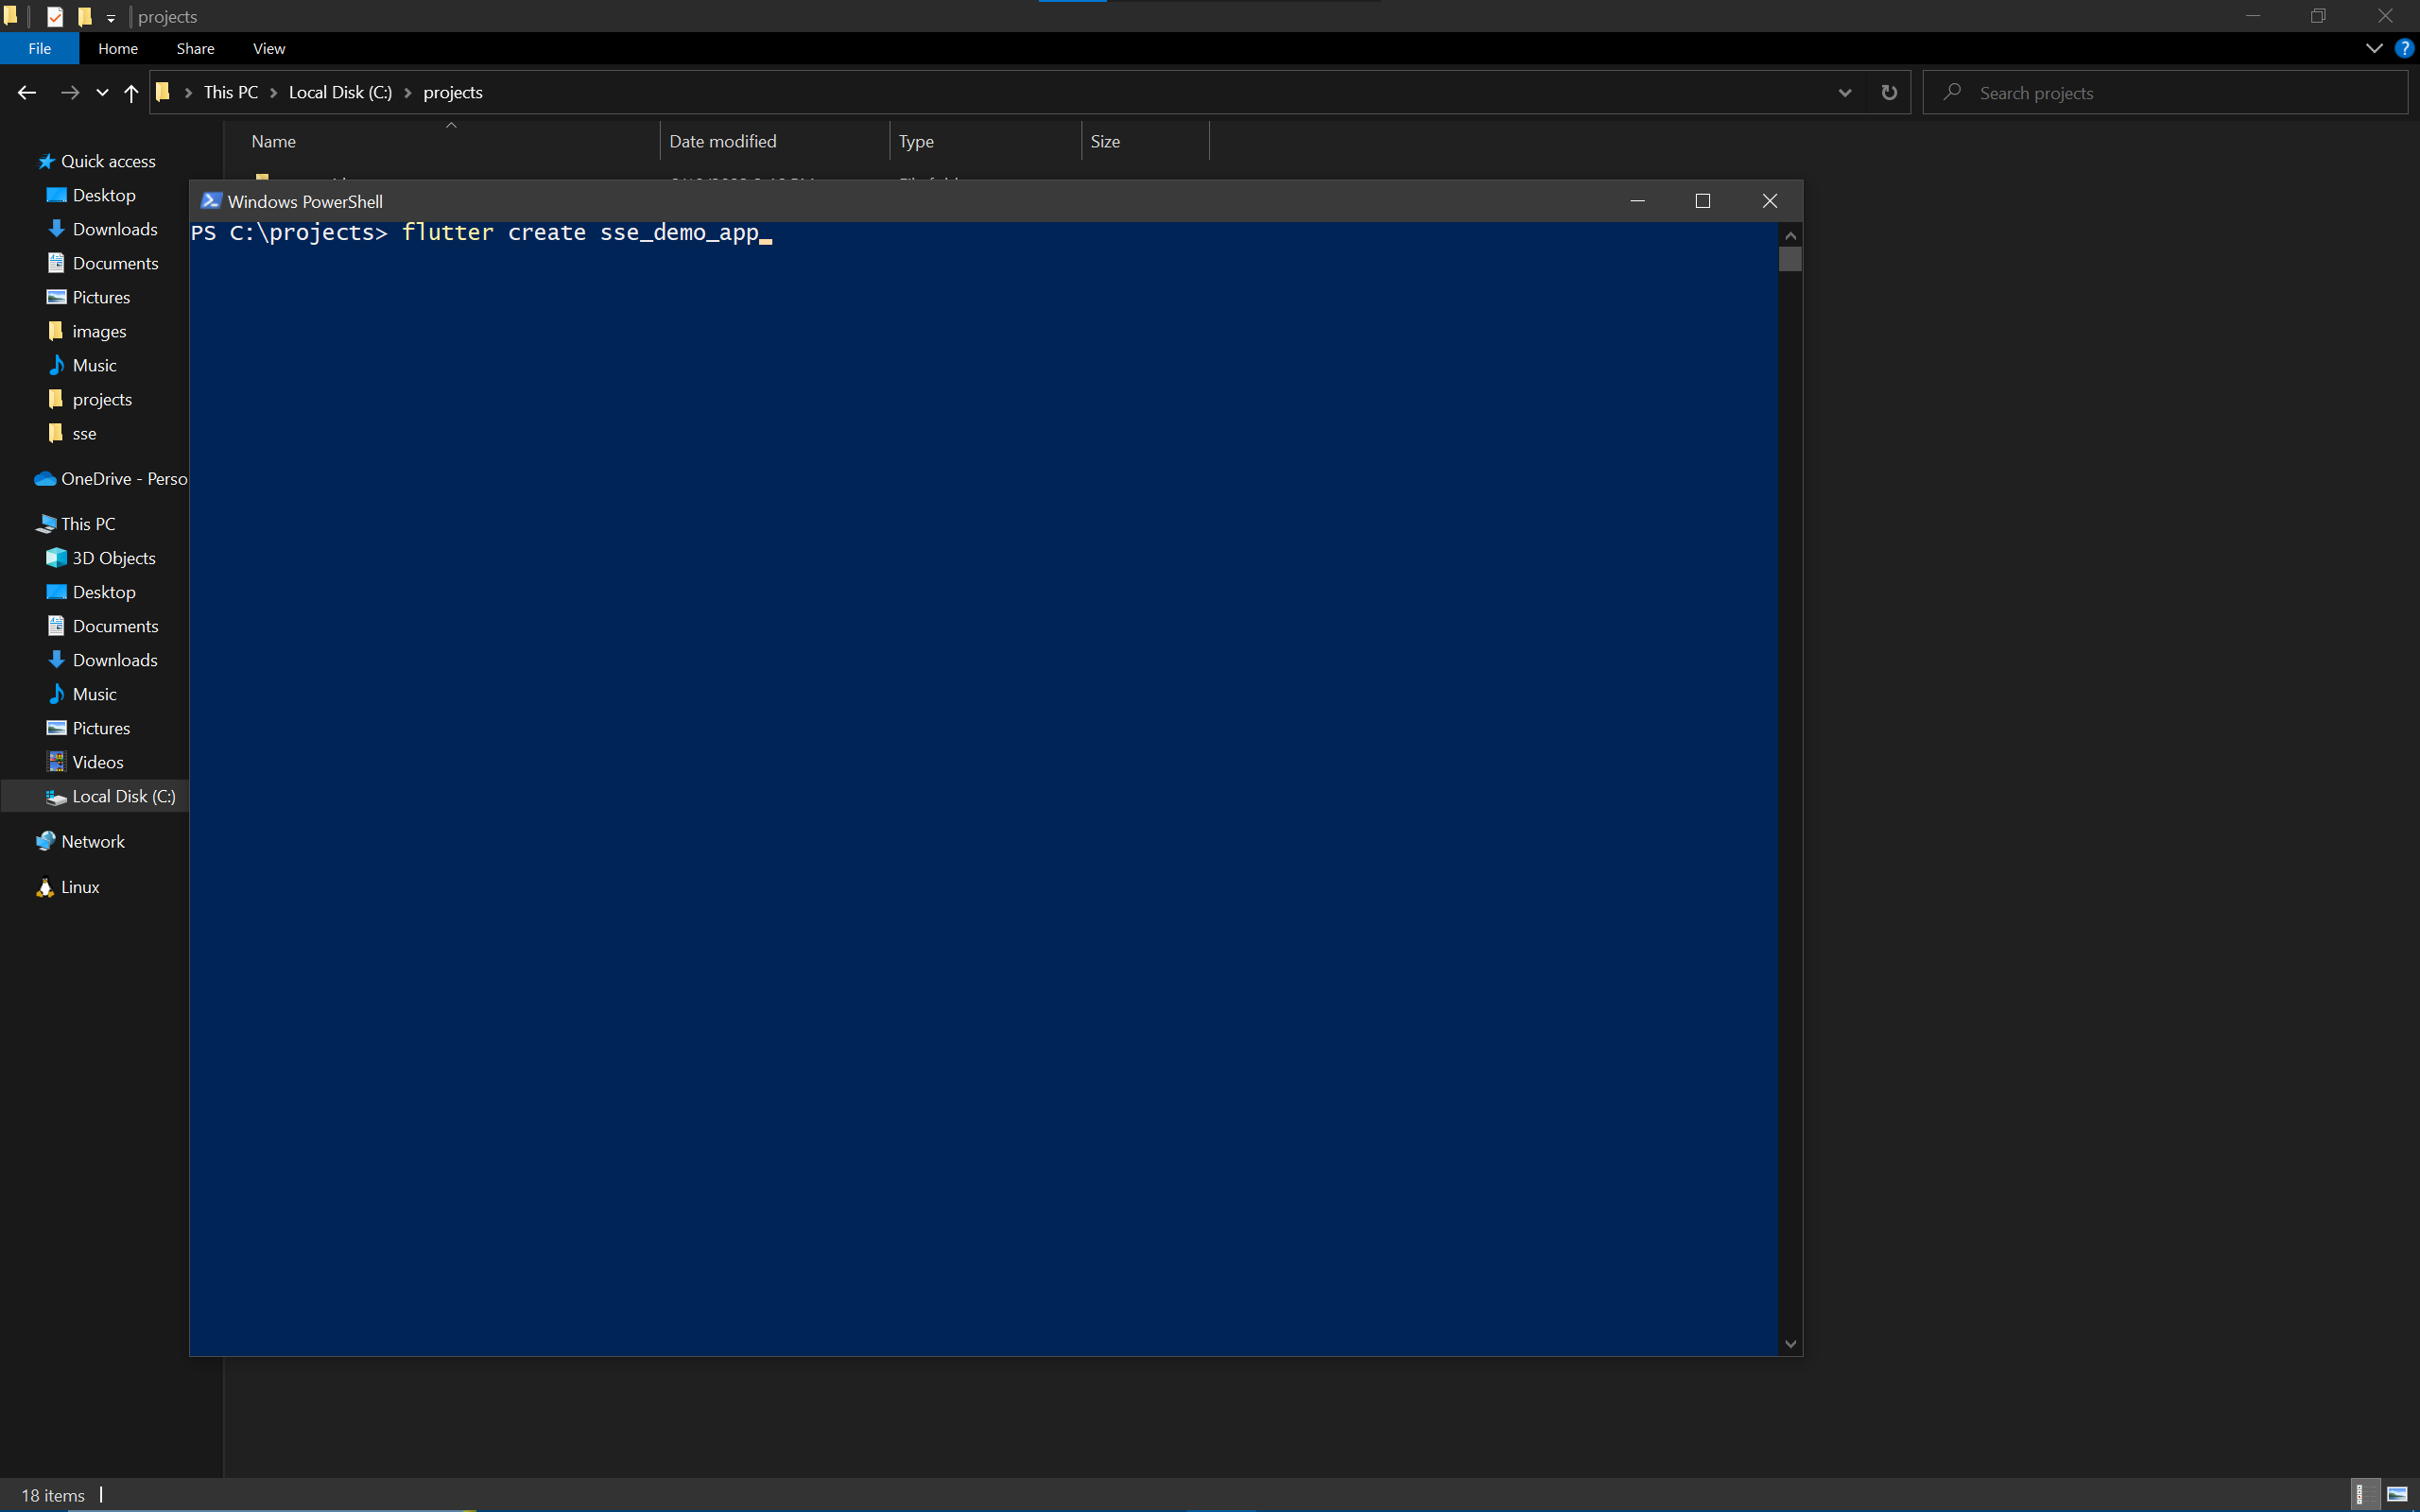
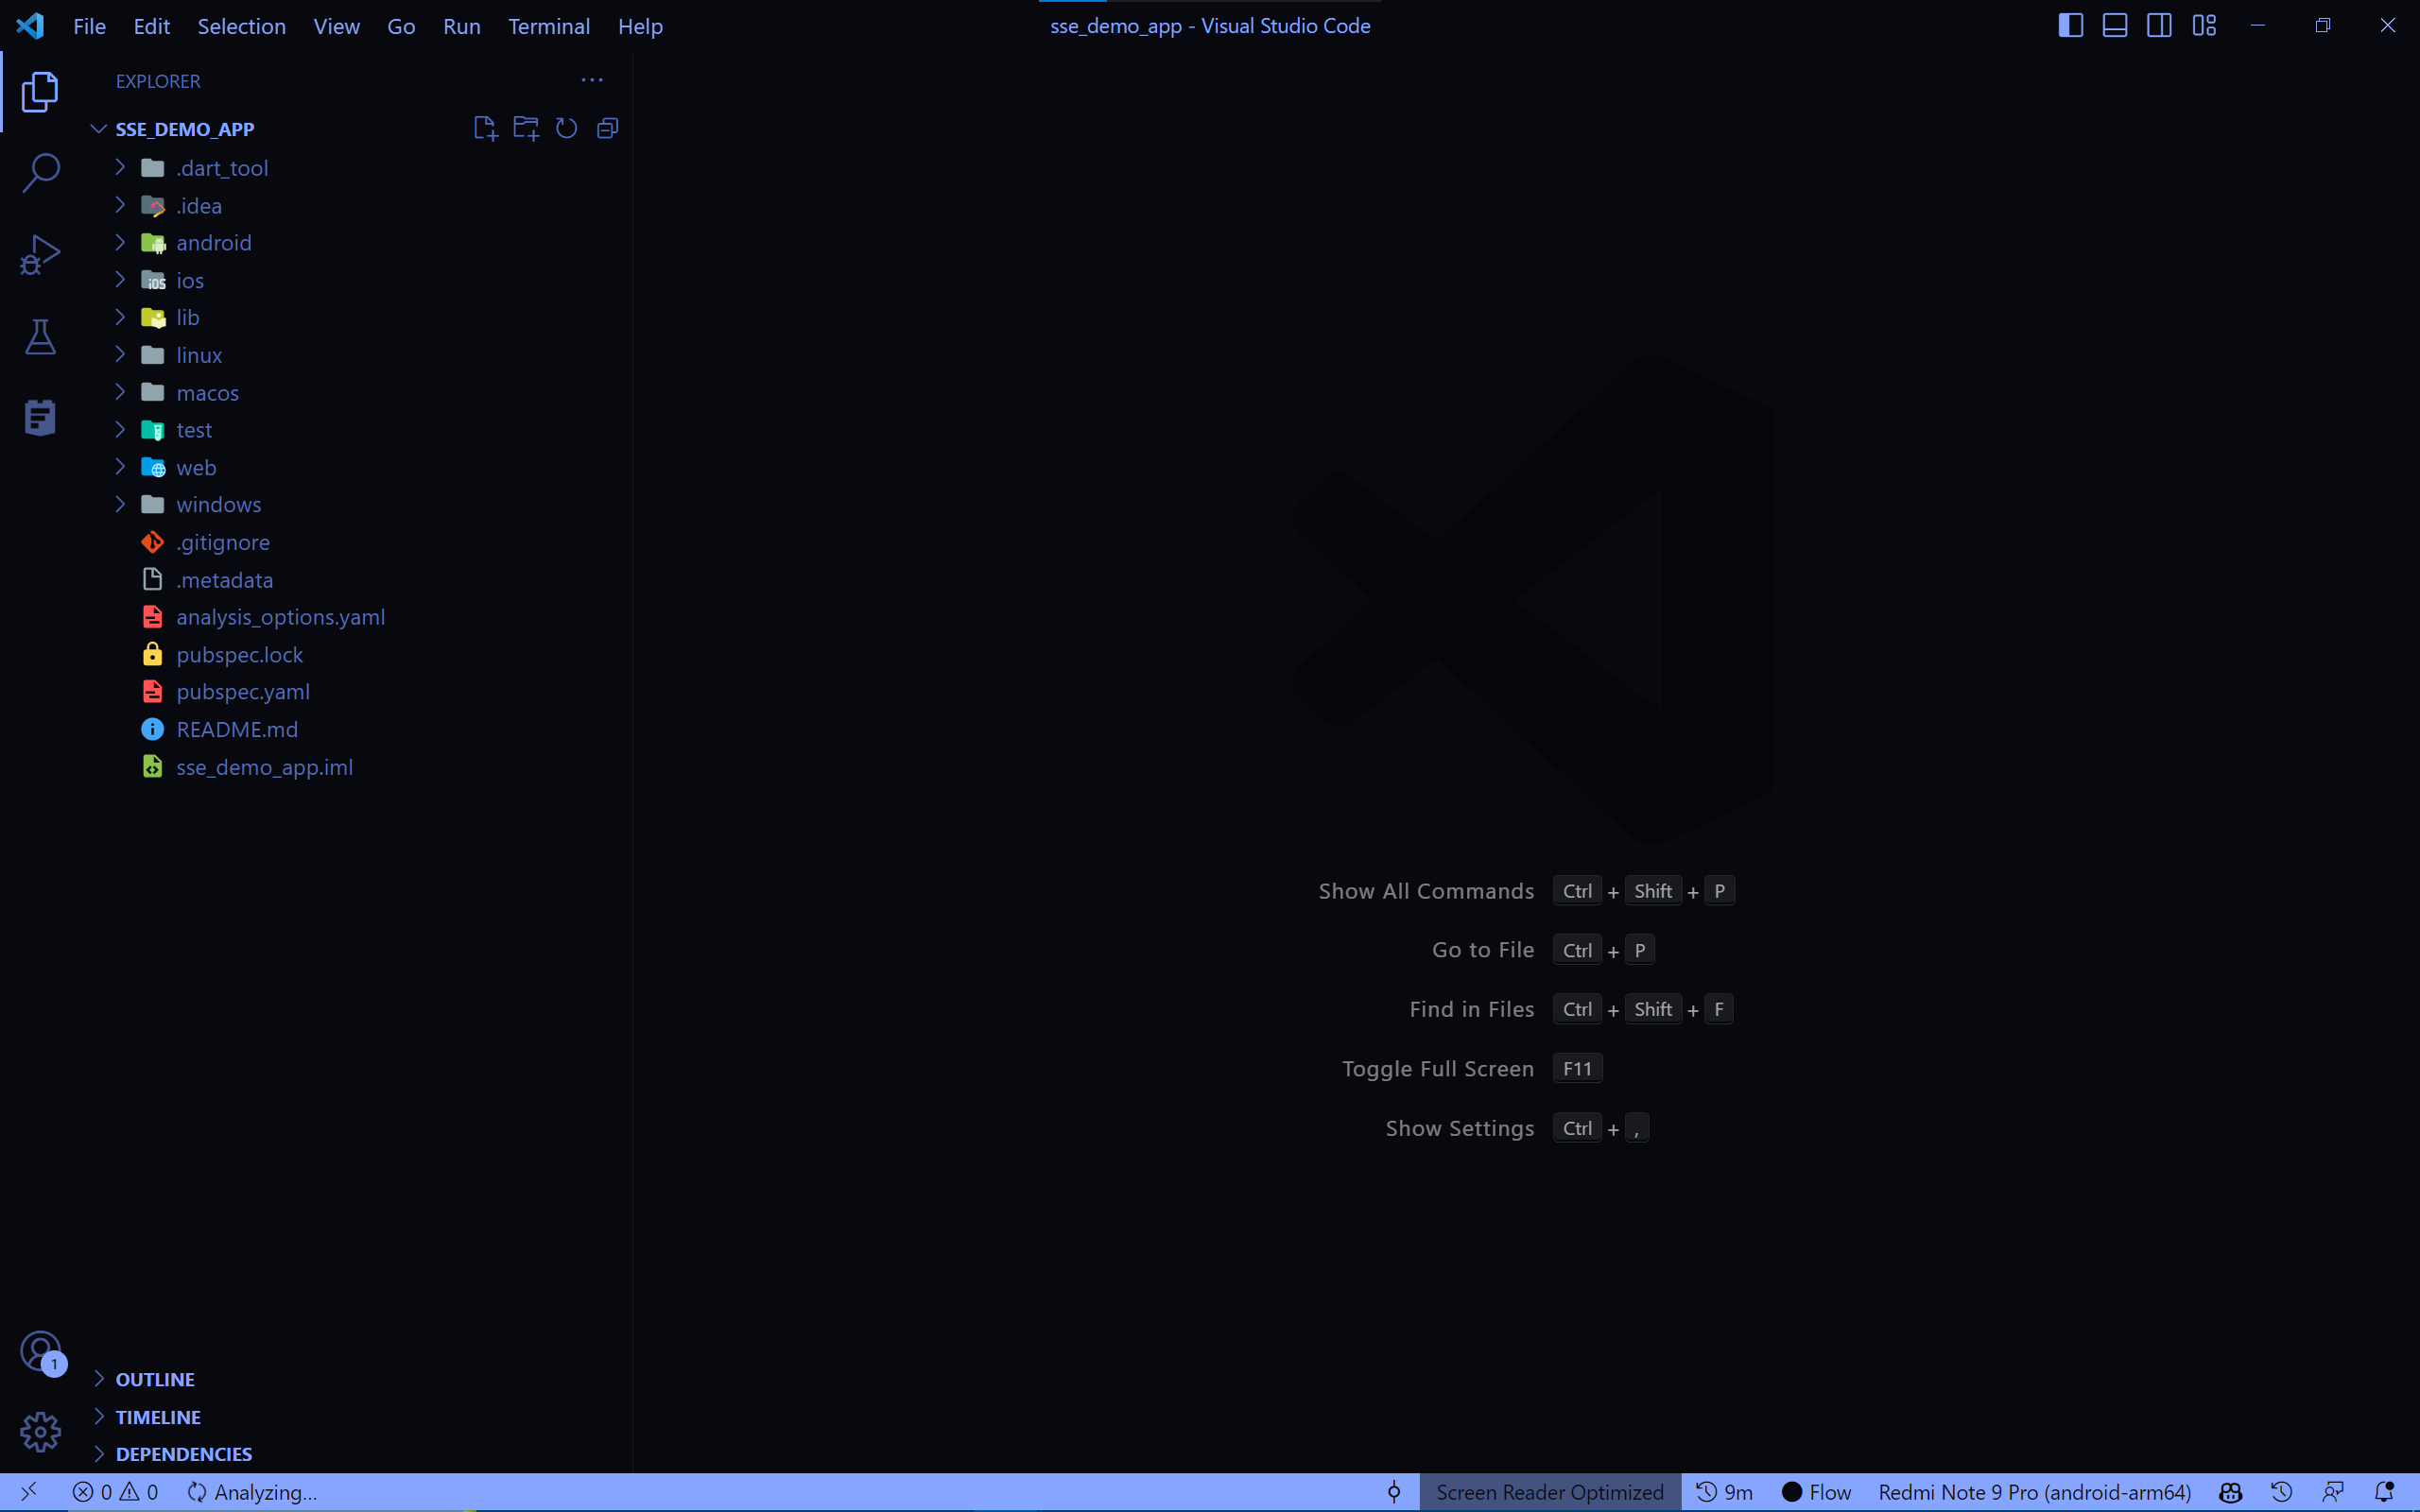
- Now, open the project folder in your preferred IDE:
- Add the required dependency which is the
httppackage to thepubspec.yamlfile:
dependencies:
  http: any
An alternative of adding the dependency is by running the following command in your terminal:
flutter pub add http- After declaring the dependency, we will need to fetch & install it by running the following command in your terminal:
flutter pub getAt this point, what we did is just creating a new Flutter project and where the http package is ready to use, you can now move to the next section to learn more about the implementation that we will do.
Implementing the SSE client
After creating the project, we will now implement the actual SSE client that will connect to the API that we created in the previous section.
For Dart & Flutter, the entry file for an app is the main.dart. By default, it contains the default counter Flutter app, we will remove the default code and add our own, this is how the main.dart file should look like:
import 'package:flutter/material.dart';

void main() {
  runApp(OurAppWidget());
}

class OurAppWidget extends StatelessWidget {
  @override
  Widget build(BuildContext context) {
    return Container();
  }
}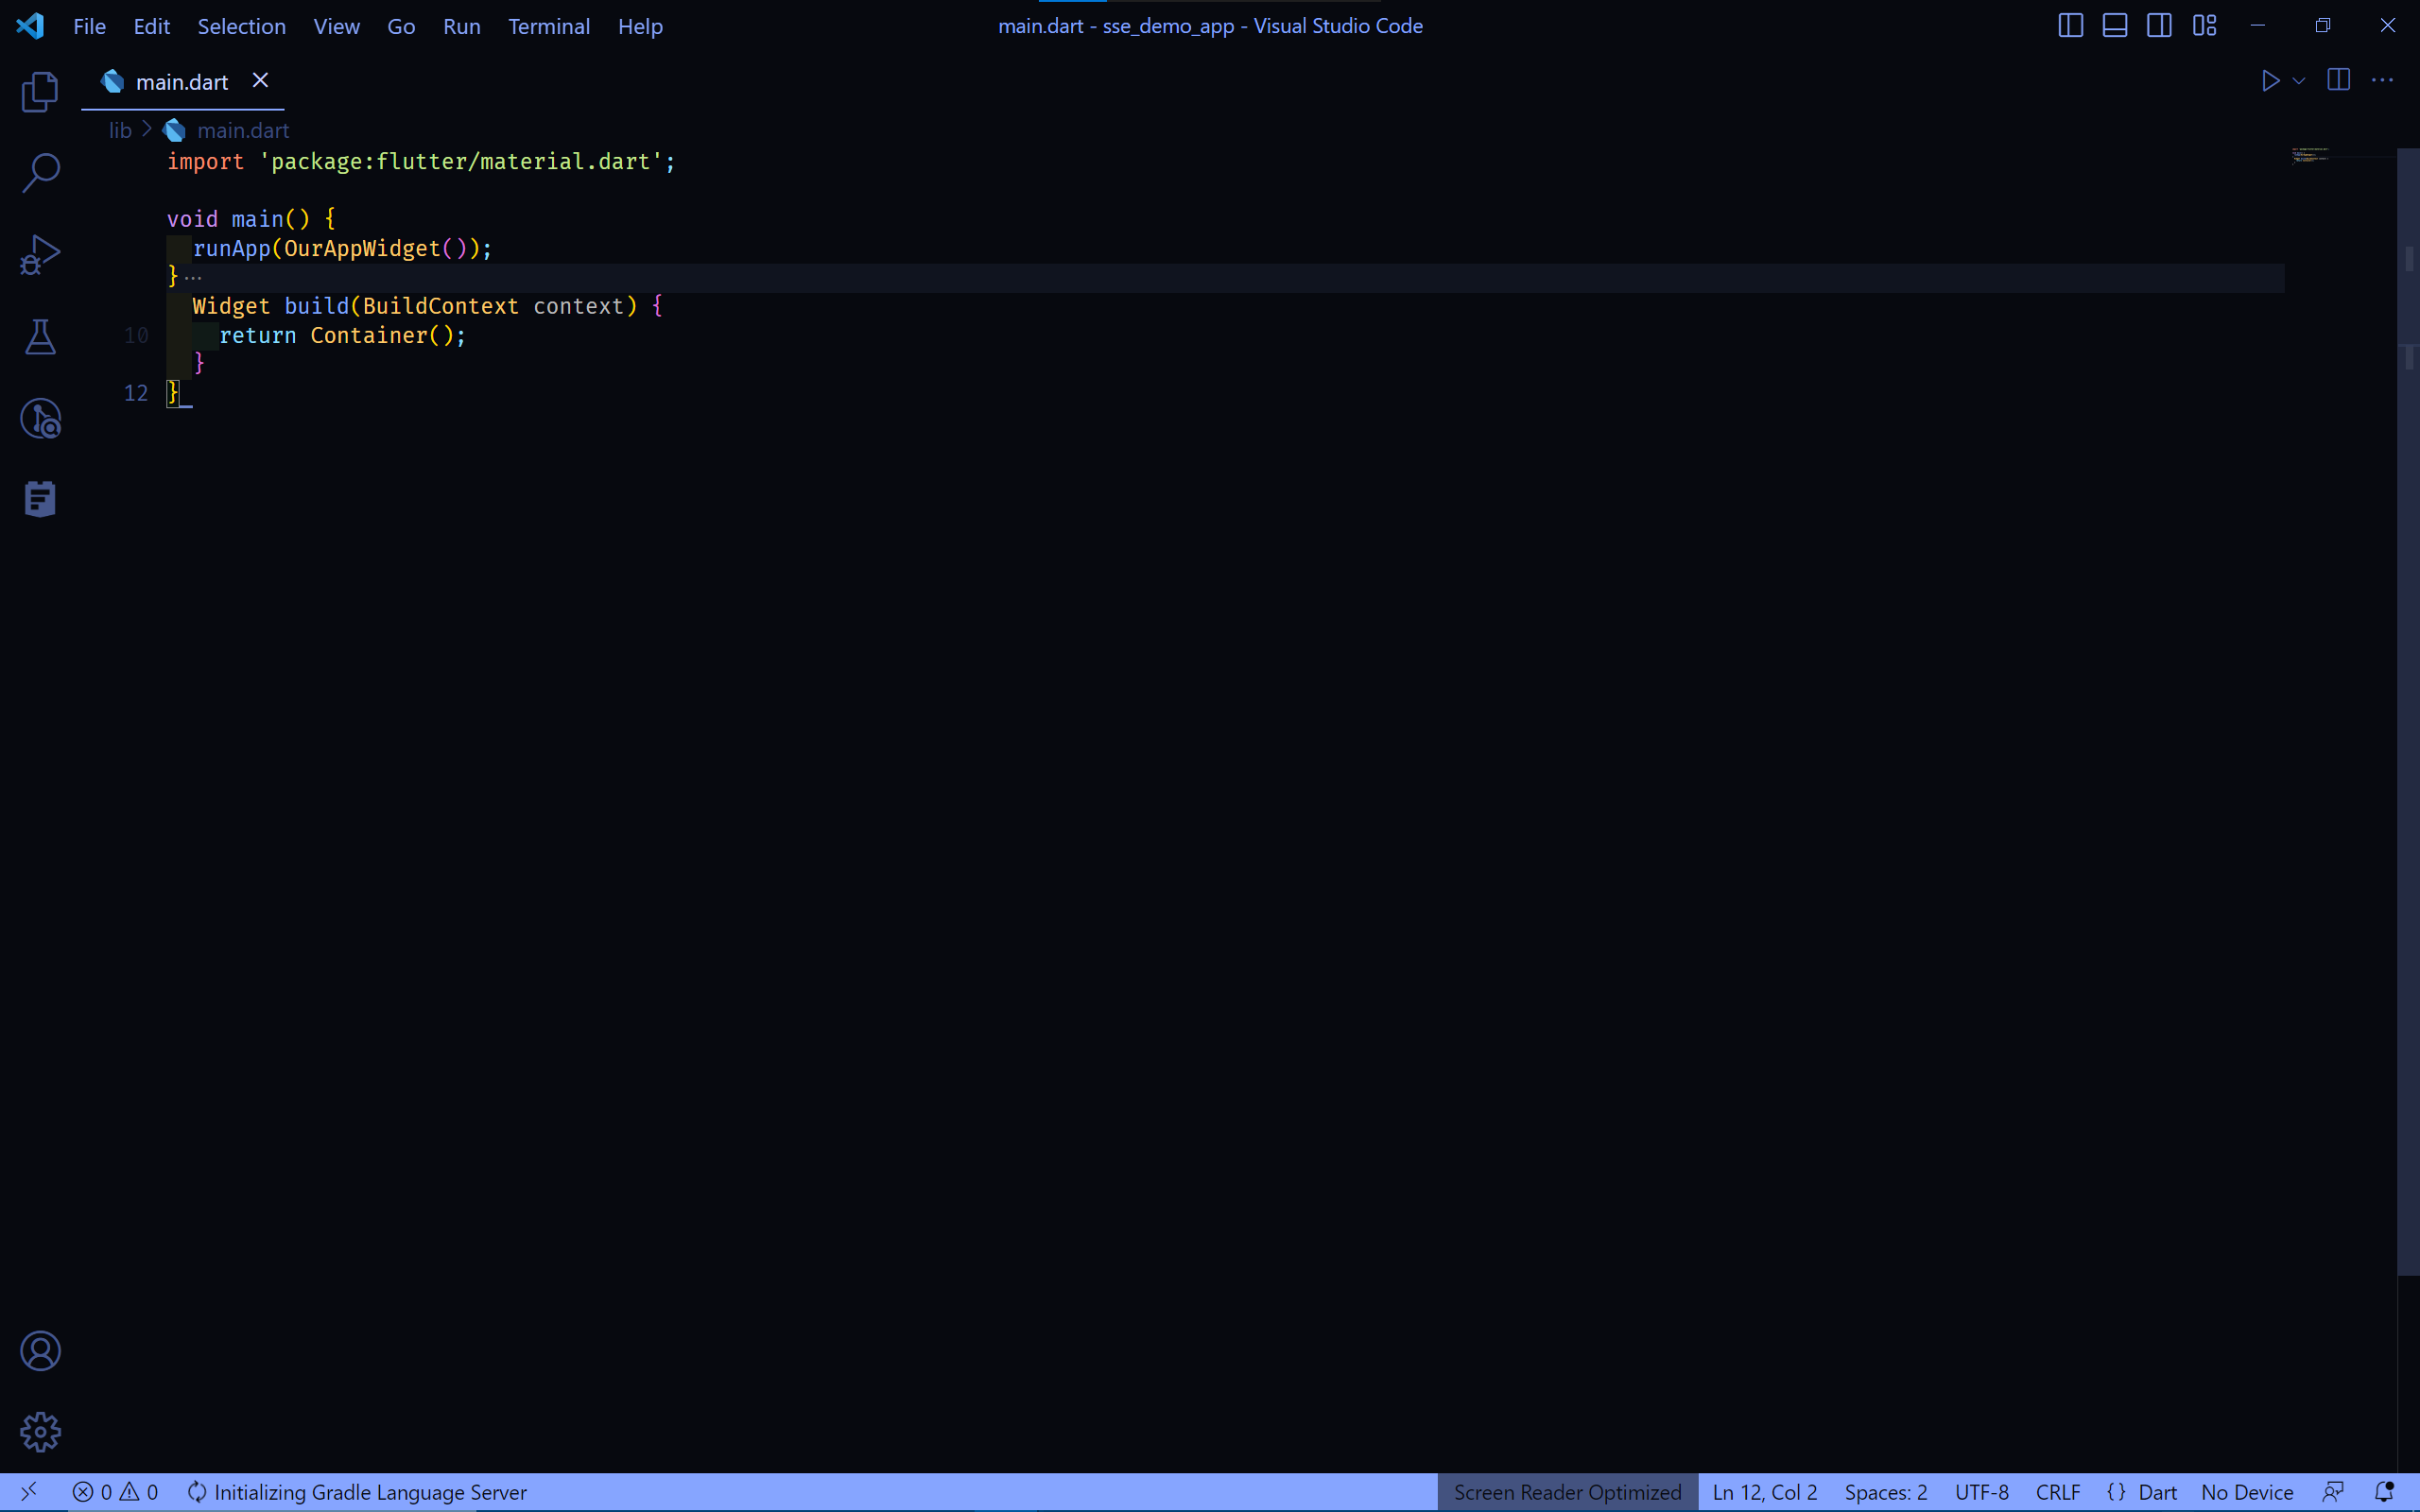
This is simply the most basic Flutter app that contains nothing but a Container widget, we will modify it later to fit our needs.
- Start by creating a new file named
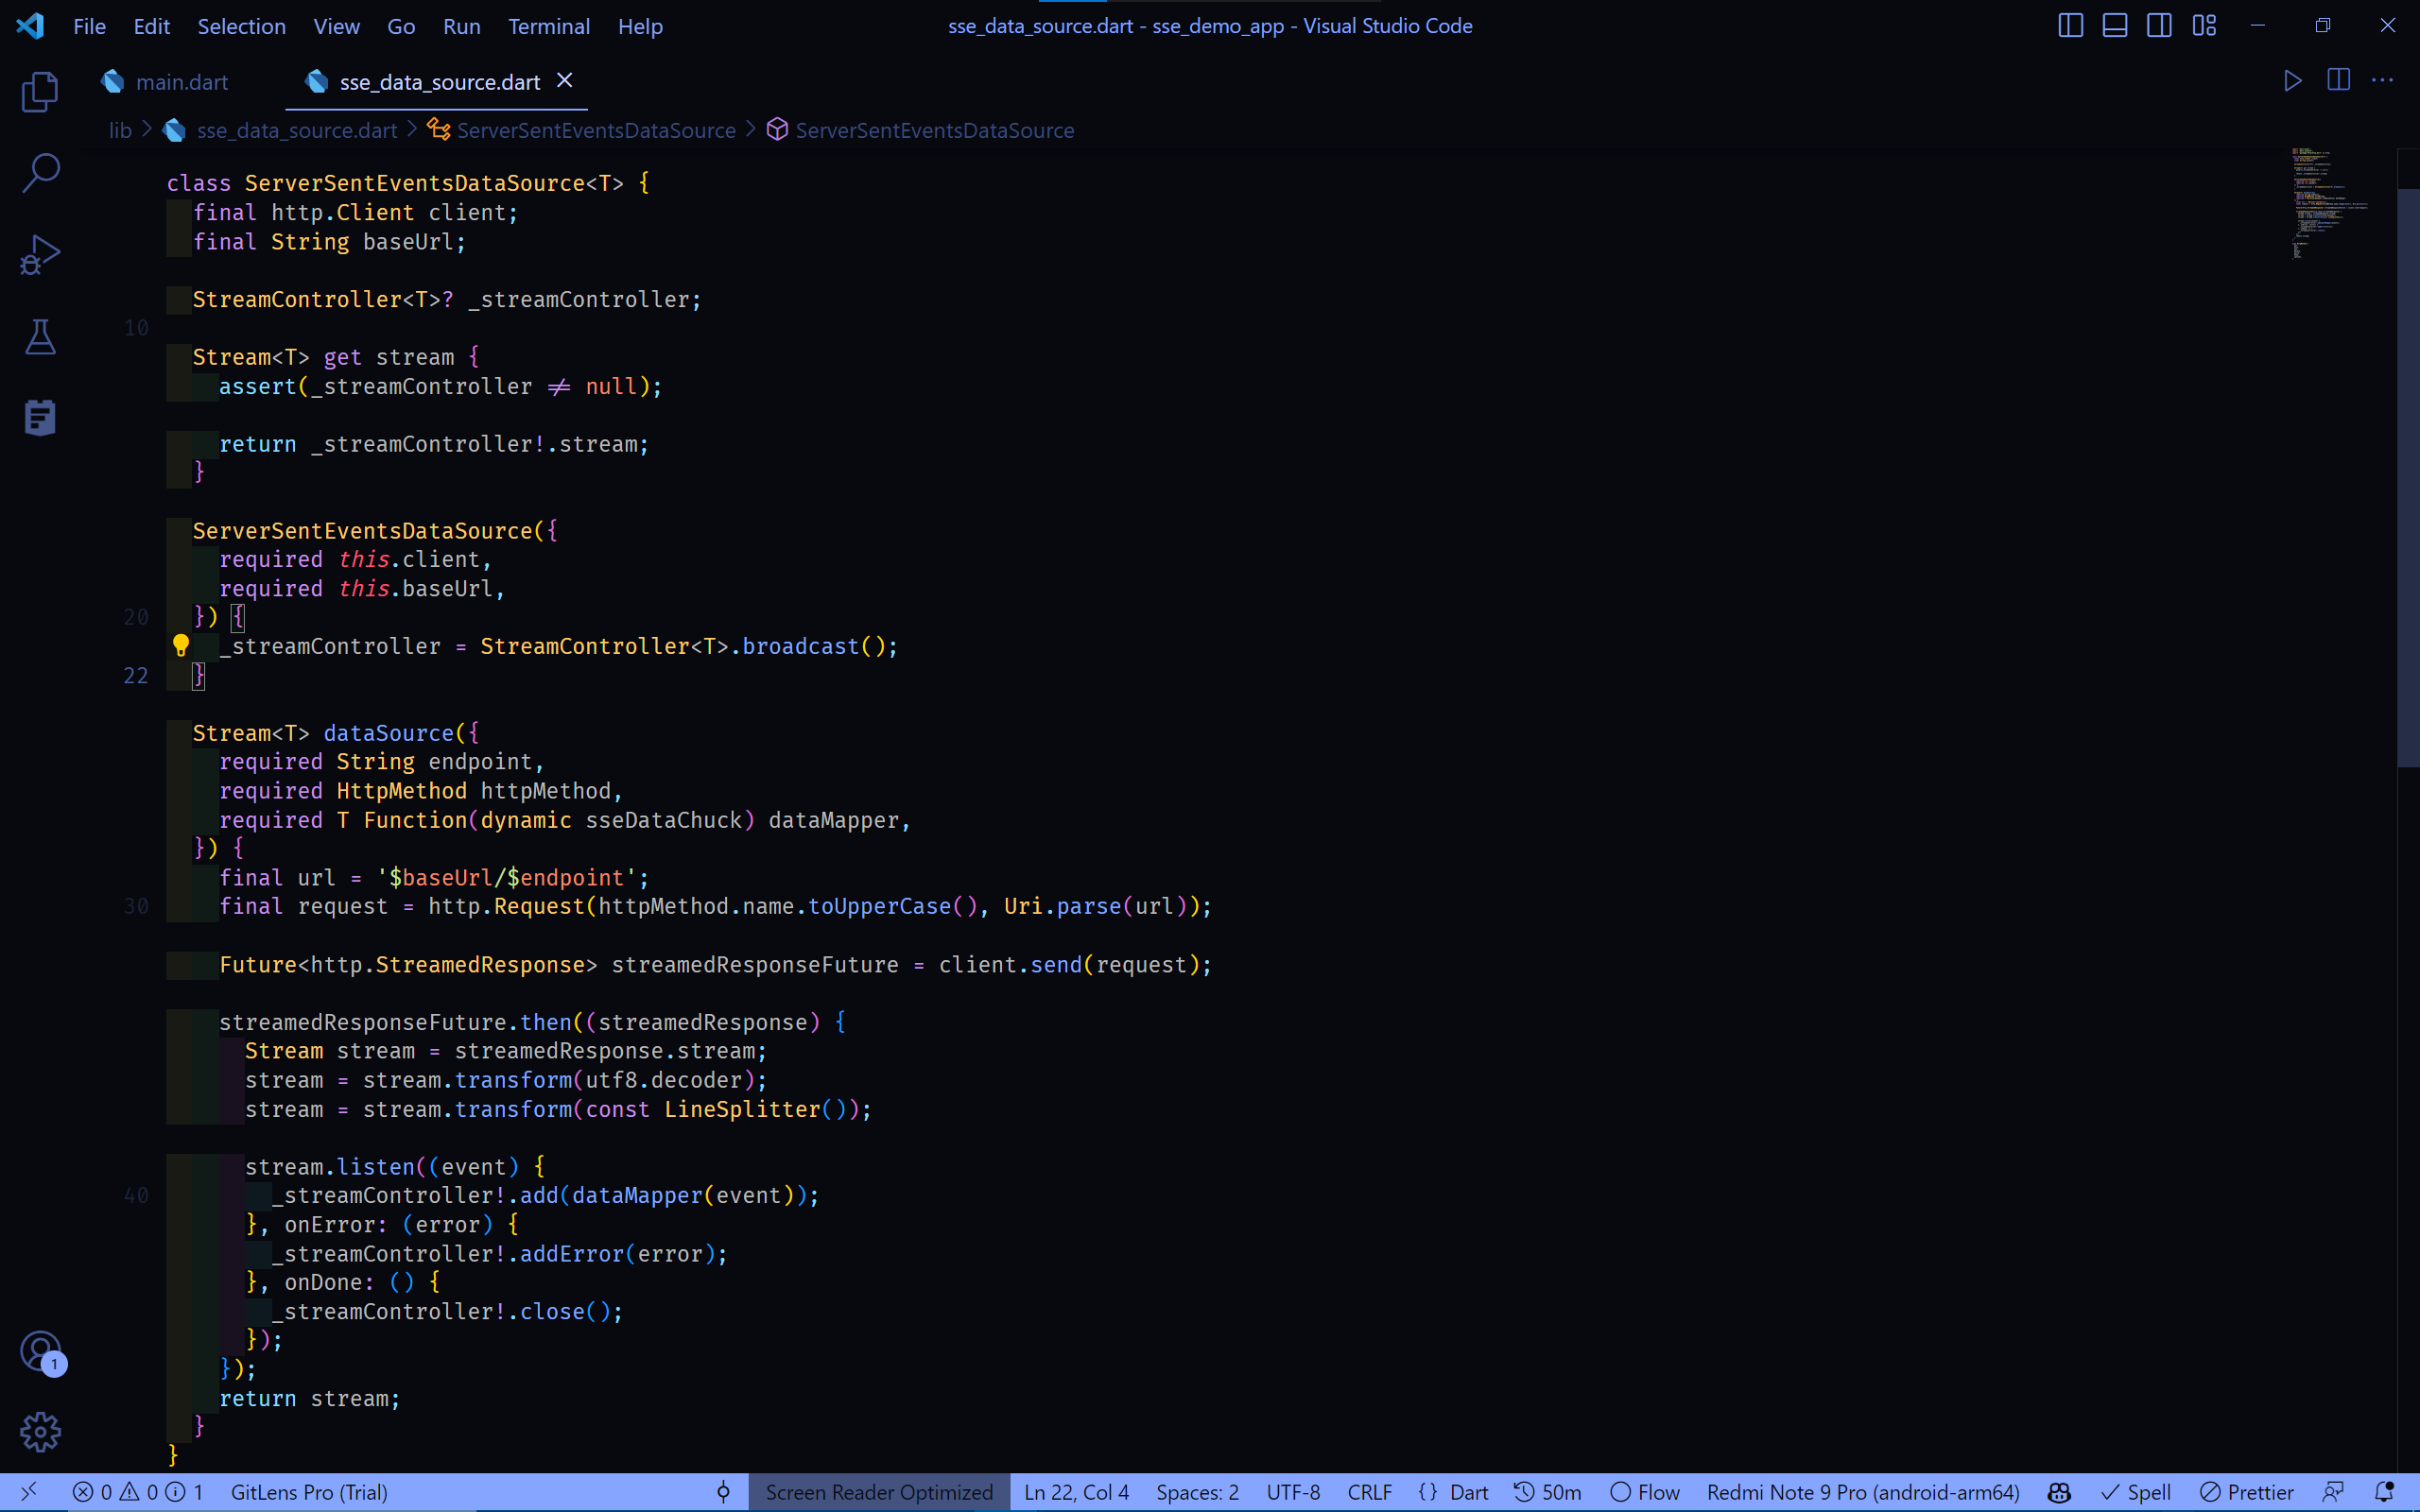
sse_data_source.dartin thelibfolder from your project directory, and add the following code:
import 'dart:async';
import 'package:http/http.dart' as http;

class ServerSentEventsDataSource<T> {
  final http.Client client;
  final String baseUrl;

  StreamController<T>? _streamController;

  Stream<T> get stream {
    assert(_streamController != null);

    return _streamController!.stream;
  }

  ServerSentEventsDataSource({
    required this.client,
    required this.baseUrl,
  }) {
    _streamController = StreamController<T>.broadcast();
  }

}
This represent the base class for our SSE client implementation, we pass an HTTP client that we will use to make the request to the API, and the baseUrl of the API via the constructor of the class.
The _streamController is a StreamController instance that we will use to provide the Stream interface for the data received from the server, and the stream getter is used to get the Stream of that _streamController, we will see how this will be used later.
- Create a function called
dataSourcethat simply takes anendpointof the API endpoint where the data is fetched from, anhttpMethodof the HTTP request, and adataMapperfunction which manipulate a given chunk of data into a modelled object, and returns aStreamof that object:
Stream<T> dataSource({
  required String endpoint,
  required HttpMethod httpMethod,
  required T Function(dynamic sseDataChuck) dataMapper,
}) {
  final url = '$baseUrl/$endpoint';
  final request = http.Request(httpMethod.name.toUpperCase(), Uri.parse(url));

  // more to come here...

  return stream;
}- Add the responsible code for connecting to that SSE API endpoint:
Future<http.StreamedResponse> streamedResponseFuture = client.send(request);

streamedResponseFuture.then((streamedResponse) {
  Stream stream = streamedResponse.stream;
  stream = stream.transform(utf8.decoder);
  stream = stream.transform(const LineSplitter());

  /// more to come here...
});
Basically, what we did here is that we saved the Future object of the http.StreamedResponse that we will get from the client.send(request) function call, then we added a callback to that Future that will be resolved when the the connection to the SSE API endpoint is established successfully, which is when the streamedResponse is returned in the code.
After that, we get the stream from that streamedResponse, which it is by default a Stream of code units of the data chunks, so we transform it into a Stream of String by using the utf8.decoder & LineSplitter stream transformers.
- Expose & manage the
streamedResponse’s stream to ourStreamControllersink & stream:
stream.listen((event) {
  _streamController!.add(dataMapper(event));
}, onError: (error) {
  _streamController!.addError(error);
}, onDone: () {
  _streamController!.close();
});
We listen to the stream of the streamedResponse internally in our implementation, adding every chunck of data to our created _streamController sink using the dataMapper function that we passed to the dataSource function, we didn’t forget to handle possible error cases and closing the _streamController when the connection is closed.
This is it, you just created a minimal usable SSE client. at this point, you can take this code and use it with most Dart appsn, we are ready now for using it with a Flutter app, you can now move to the next section to learn how.
This is how The sse_data_source.dart file should look like this:
import 'dart:async';
import 'dart:convert';
import 'package:http/http.dart' as http;

void main() {
  final sse = ServerSentEventsDataSource(
    baseUrl: "http://localhost:3000",
    client: http.Client(),
  );

  final src = sse.dataSource(
      endpoint: "sse",
      httpMethod: HttpMethod.get,
      dataMapper: (chunk) {
        return chunk;
      });

  src.listen((event) {
    print(event);
  }, onError: (err) {
    print(err);
  }, onDone: () {
    print("done");
  });
}

class ServerSentEventsDataSource<T> {
  final http.Client client;
  final String baseUrl;

  StreamController<T>? _streamController;

  Stream<T> get stream {
    assert(_streamController != null);

    return _streamController!.stream;
  }

  ServerSentEventsDataSource({
    required this.client,
    required this.baseUrl,
  }) {
    _streamController = StreamController<T>.broadcast();
  }

  Stream<T> dataSource({
    required String endpoint,
    required HttpMethod httpMethod,
    required T Function(dynamic sseDataChuck) dataMapper,
  }) {
    final url = '$baseUrl/$endpoint';
    final request = http.Request(httpMethod.name.toUpperCase(), Uri.parse(url));

    Future<http.StreamedResponse> streamedResponseFuture = client.send(request);

    streamedResponseFuture.then((streamedResponse) {
      Stream stream = streamedResponse.stream;
      stream = stream.transform(utf8.decoder);
      stream = stream.transform(const LineSplitter());

      stream.listen((event) {
        _streamController!.add(dataMapper(event));
      }, onError: (error) {
        _streamController!.addError(error);
      }, onDone: () {
        _streamController!.close();
      });
    });
    return stream;
  }
}

enum HttpMethod {
  get,
  post,
  put,
  delete,
  patch,
  head,
  options,
}
Using the SSE client in Flutter apps
In this section, we will use the SSE client that we created in the previous section in a Flutter app, and we will see how to use the Stream interface to handle the data received from the server.
- in your
libfolder, create a new file namedmodel_class.dartand add the following code:
class DataModel {
  final String text;

  DataModel({
    required this.text,
  });

  factory DataModel.fromRawResponse(String rawResponse) {
    return DataModel(
      text: rawResponse,
    );
  }

  @override
  String toString() {
    return text;
  }
}
This is an example model class which will be used to hold the responses data and to demonstrate the usage of the dataMapper function that we passed to the dataSource function in the sse_data_source.dart file so we can use a Stream<DataModel> in our app.
The factory constructor DataModel.fromRawResponse is used to create a DataModel object from the raw response data that we will get from the server, and the toString method is used to print the DataModel object in a readable way, those are just for demonstration purposes.
- In your
main.dartfile, make theOurAppWidgetclass extends aStatefulWidgetinstead of aStatelessWidget, this gives us the ability to create and manage our code with theStateFulWidget’s lifecycle methods, so basically theOurAppWidgetclass should look like this:
class OurAppWidget extends StatefulWidget {
  const OurAppWidget({super.key});

  @override
  State<OurAppWidget> createState() => _OurAppWidgetState();
}

class _OurAppWidgetState extends State<OurAppWidget> {
List<DataModel> sseDataChunks = [];
ServerSentEventsDataSource<DataModel>? _serverSentEventsDataSource;

@override
void initState() {
    super.initState();

  _serverSentEventsDataSource = ServerSentEventsDataSource<DataModel>(
    client: http.Client(),
    baseUrl: 'http://localhost:3030',
  );

  _serverSentEventsDataSource!.dataSource(
    endpoint: "/sse",
    httpMethod: HttpMethod.get,
    dataMapper: (chuck) {
      return DataModel.fromRawResponse(chuck);
    },
  );

  _serverSentEventsDataSource!.stream.listen((event) {
    setState(() {
      sseDataChunks.add(event);
    });
  });

}

  @override
  Widget build(BuildContext context) {
    return MaterialApp(
      home: DataModelListView(
        list: sseDataChunks,
      ),
    );
  }
}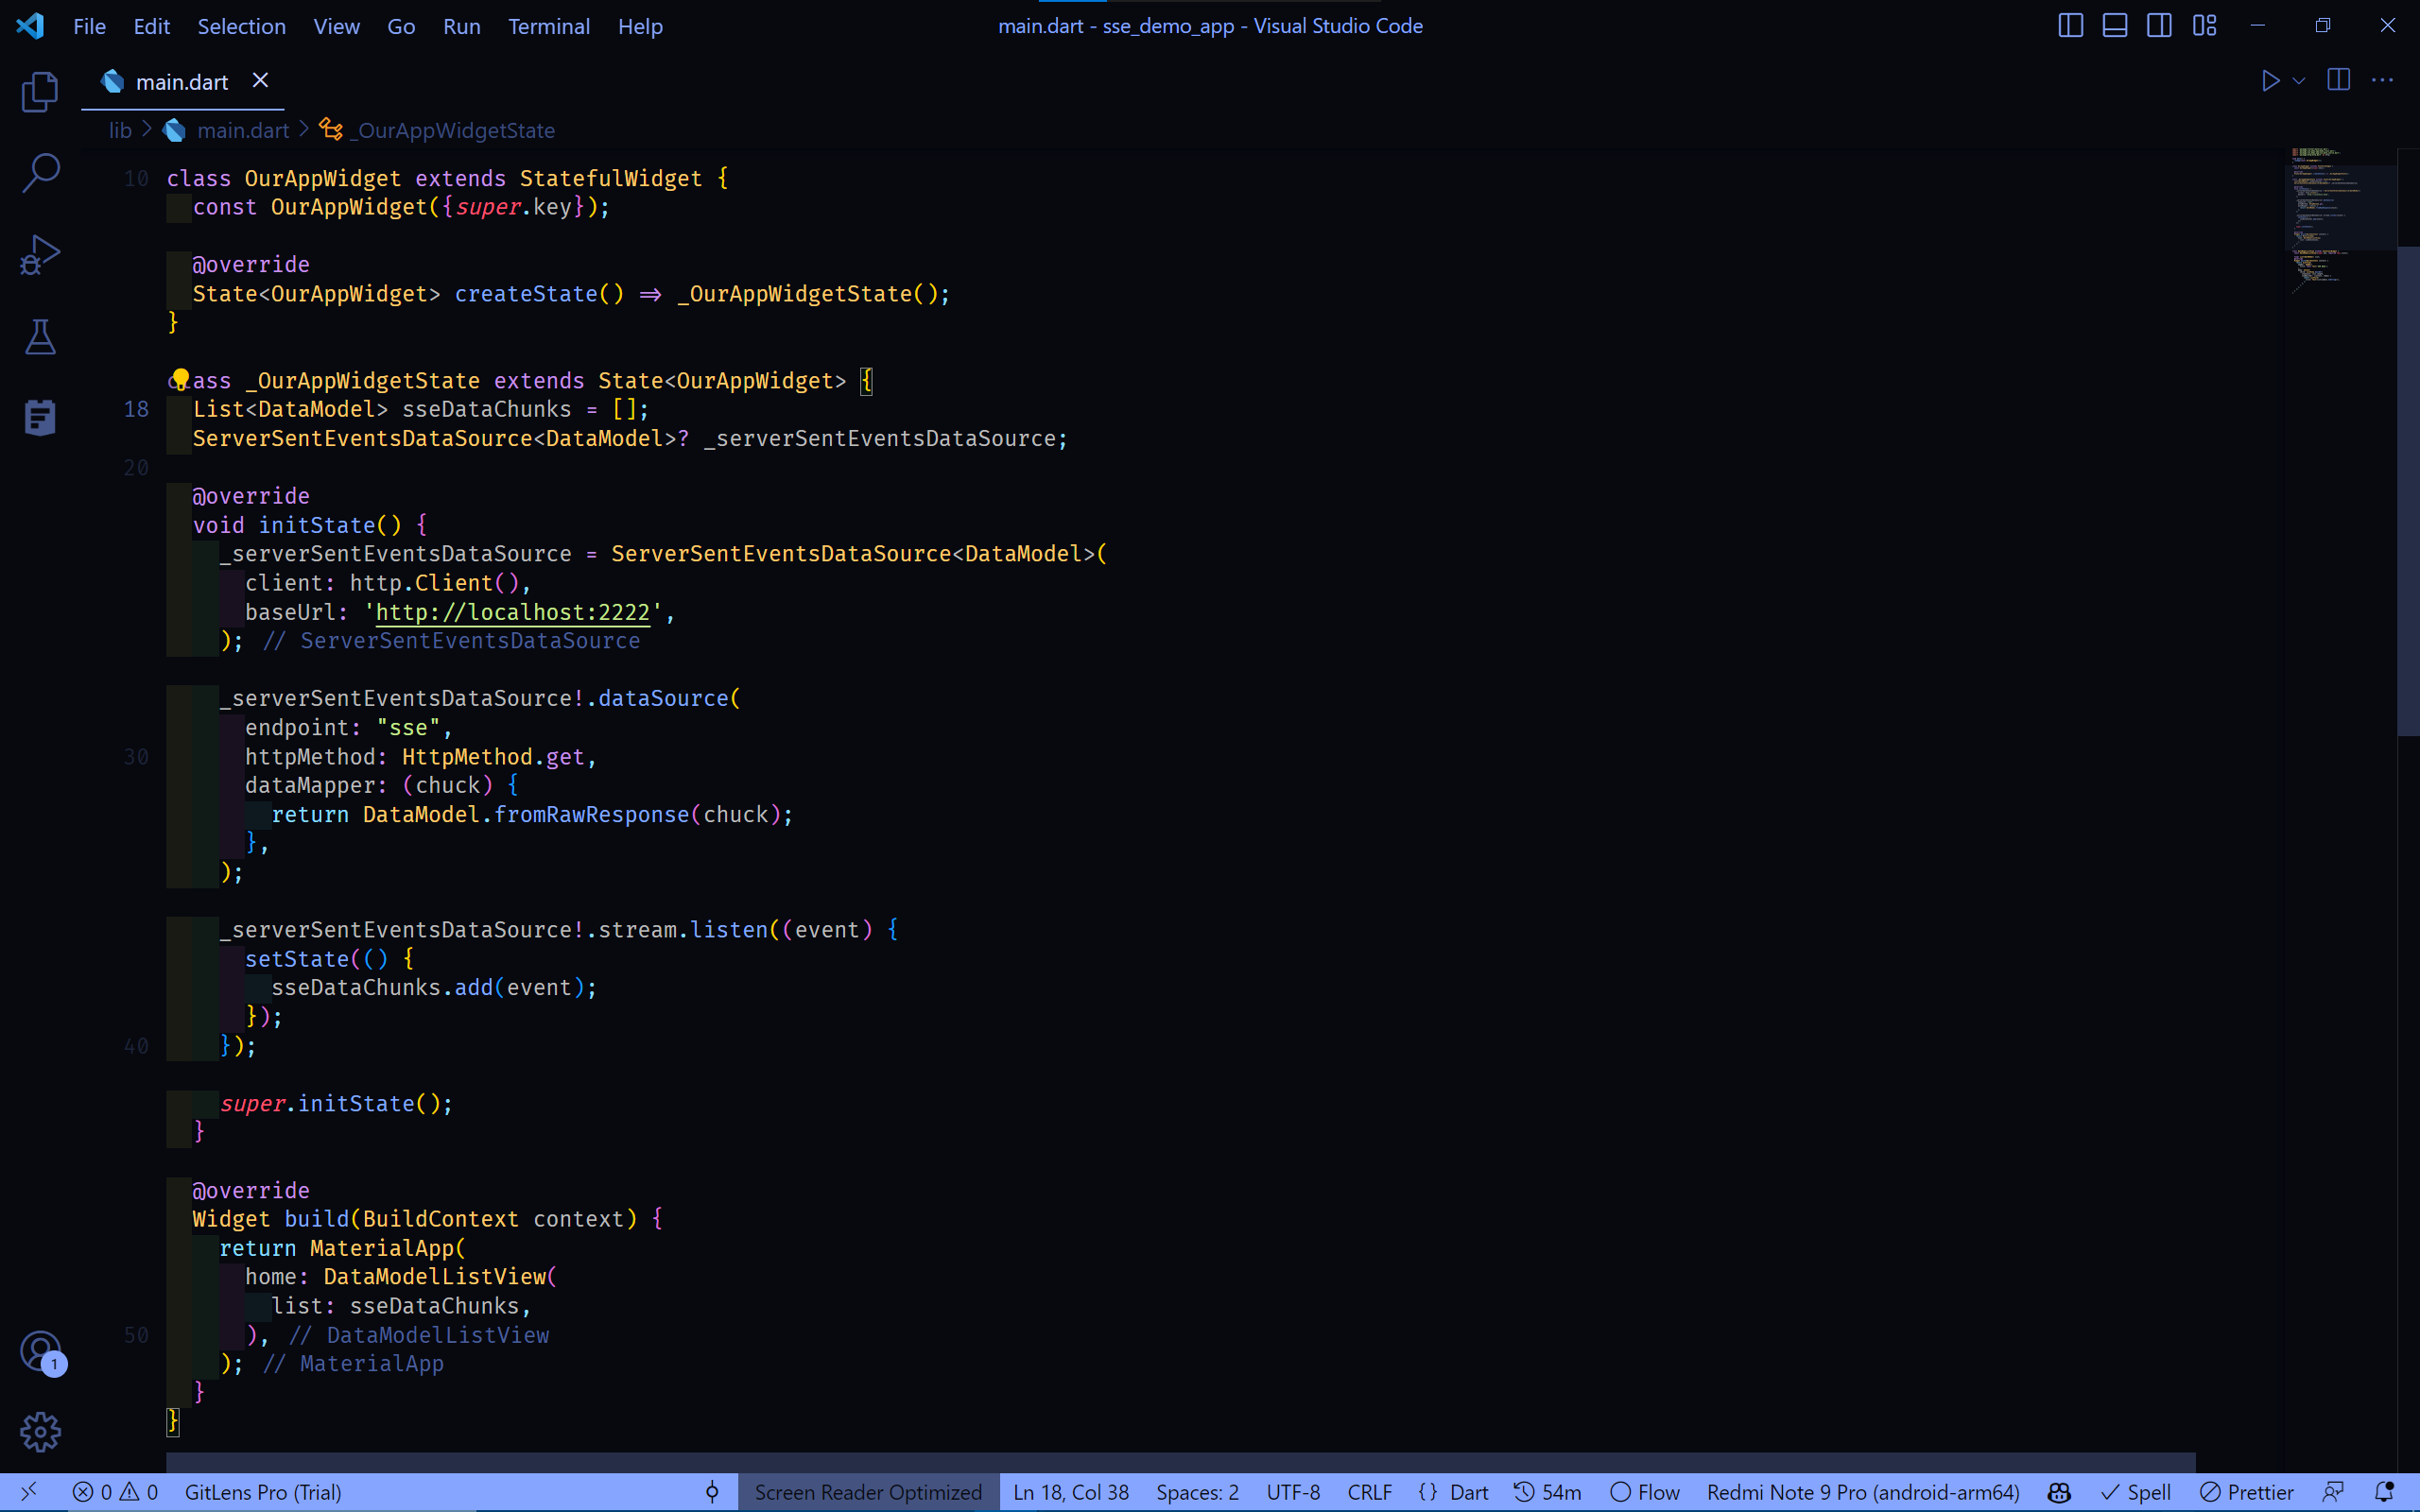
We did created a ServerSentEventsDataSource instance in the initState method, and we passed the http.Client instance which will be used to make the request to the API, and the baseUrl of the our previously created API.
We set a source of our data with the dataSource method, and we passed the endpoint of the API endpoint where the data is fetched from, an httpMethod of the HTTP request, and a dataMapper function which manipulate a given chunk of data into a DataModel object via the DataModel.fromRawResponse, and returns a Stream of that object.
Then, we listened to that stream, adding each chunk of data to the sseDataChunks list, the call of the setState method is used to rebuild the UI with the new data so we can visualize it in the DataModelListView widget.
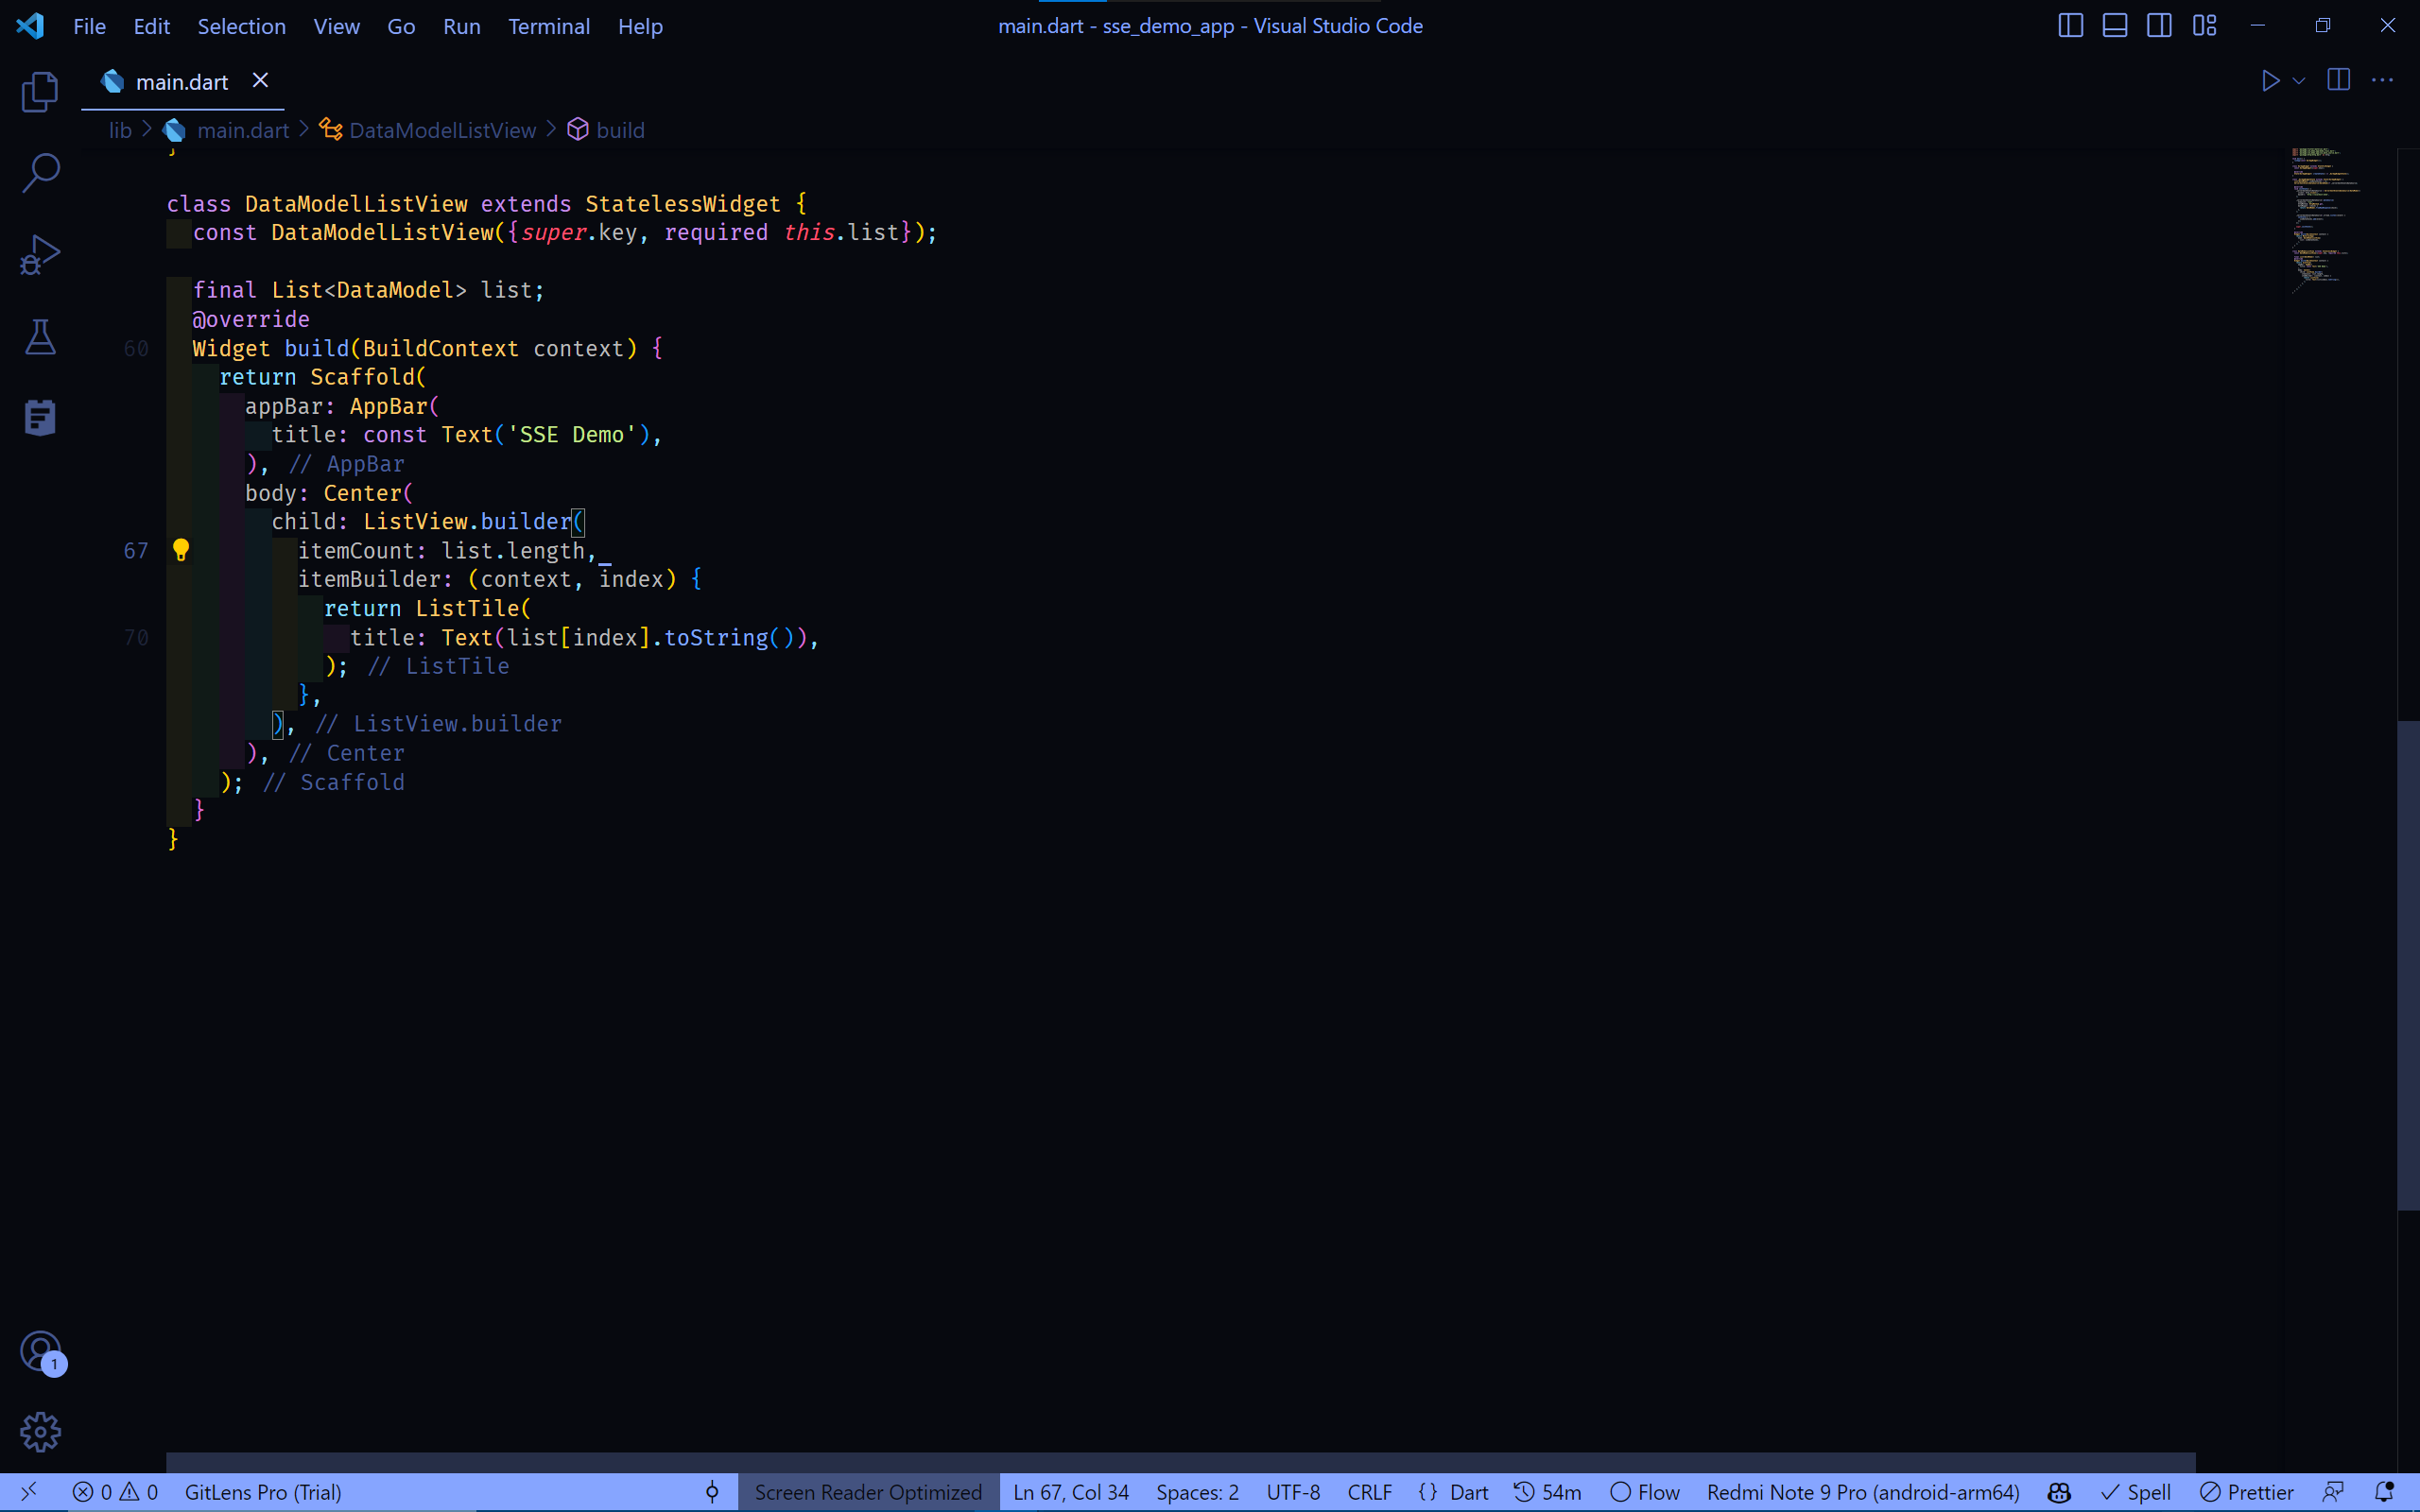
- Last but not least, we will implement the
DataModelListViewwidget, which is a simpleListView.builderwidget that takes a list ofDataModelobjects and displays them in aListViewwidget, this is how theDataModelListViewwidget looks like:
class DataModelListView extends StatelessWidget {
  const DataModelListView({super.key, required this.list});

  final List<DataModel> list;
  @override
  Widget build(BuildContext context) {
    return Scaffold(
      appBar: AppBar(
        title: const Text('SSE Demo'),
      ),
      body: Center(
        child: ListView.builder(
          itemCount: list.length,
          itemBuilder: (context, index) {
            return ListTile(
              title: Text(list[index].toString()),
            );
          },
        ),
      ),
    );
  }
}
And Boom, you just created an app that uses an SSE API to get data from the server, and displays it in a Flutter app UI, you can now run it and see the following result:
This was a general overview on how to implement and manage SSE with Flutter, you can now take it and expand it to fit your needs, by customizing the implementation of the SSE client, the actual API, responses, models, and the UI.. and so you can achieve your desired result.
Conclusion
In this article, we learned how to use SSE in Flutter apps. We also learned how to manupilated it to a Stream interface in Flutter to handle the data received from the server in a Flutter convenient way.